Blog
-
A Case Against the Large Delivery Platforms
Why You Should Consider Ditching the Large Delivery Platforms
The three largest delivery platforms (GrubHub, UberEats, Doordash) dominate almost the entire market. Their popularity has soared over the past 5 years, but most consumers don’t know how these platforms really work.
If you’ve ever used one of the delivery platforms you’ll already be familiar with the fees associated with the consumer. They charge a delivery fee, ranging from $1.99 – $7.99. They also charge a service fee, ranging from 5% – 35% of the entire order.
What you don’t see are the fees associated with the restaurant. They charge the restaurant a fee from 20-35%, depending on the size of the restaurant and how popular it is. For example, when you purchase a $10 brisket sandwich from Saddleback, the restaurant only revieves $6.50 – $7.00. When you consider most restaurants operate with around a 30% margin on food, and rapidly rising food costs, this essentially wipes out the entire profit, and in some cases the restaurant will lose money with every delivery order.
We appreciate everyone doing their best to support local restaurants, but suggest, if possible, to order directly from the restaurant. This small change will have a large impact on all of your favorite restaurants.
See full video of Saddleback Co-Owner, Travis Stoliker, speak on this issue: https://www.facebook.com/Saddlebackbbq/videos/553485268645703/
-
What Internal Temperature Does my Meat Need to be?
Smoking Cheat Sheet
A handy guide to (almost) every meat you’ll ever smoke
-
How to Bottle a BBQ Sauce for Retail Sale
How to Bottle a BBQ Sauce for Retail Sale
From Idea to Retail Shelves – A Handy Cheat Sheet

Throughout this blog, we’re going to cover each step of taking a product to the retail space. Please revisit this blog whenever you are uncertain of the next step. We speak only about what we have real experience in, we hope this will make the information extremely practical.
Bottling our bbq sauce was something we always wanted to do. Truthfully the reason we hadn’t done it sooner was not for lack of effort. We had reached out to over 50 co-packing companies. The answer we were continuously given was that our order size was not going to be worth their time. We’ve now figured it out and hope to help anyone attempting to take a product from production to shelves.
THE PRODUCT
There’s no reason to go through the long grueling process if you don’t have a product that people want to buy. It’s not enough to have friends and family tell you it’s a good idea. Get out there, let strangers try it. We had a bit of an advantage here. We’re a restaurant, we have new customers coming in every day giving their input on our BBQ sauce. We felt fairly comfortable that we had something worth selling and that there would be some demand for the product.
Since most people don’t have this advantage they often skip this step. Please don’t do this, this is possibly the most important factor separating success and failure. Craft a simple prototype, don’t spend much time on this, you’re just going for a Minimum Viable Product. This way outsiders can give their input. You can see what features people enjoy and which are frivolous.
KICKSTARTER/FUNDRAISING
There are other options that will serve a similar purpose, this is just the one that we’re familiar with. It’s a fairly simple platform to use. The setup for a project takes less than a day and the payoff can be huge.
-
Video – going over what motivated you to make this product, your background story, what you will use the money for.
-
Attractive Rewards – for people that back you. You can do several tiers for different levels of backing (ie a different rewards for $5 pledged than for $100).
-
Setting Your Goal – This is important, specifically for Kickstarter, if you set your goal to $10,000 and you reach $9,999 you don’t receive a single dollar. There’s really no reason to make your goal something you don’t think you can comfortably hit. There are no rules to how much you can go over. For example our goal was $4,500 and we raised over $16,000 (Humble Brag).
-
Promoting Your Campaign – This is crucial, you need to use whatever existing audiences you have and all social media tools to your advantage. Post about the campaign on Facebook and Twitter. Use your business page (if you don’t already have one you can make one in less than 10 minutes) to talk about the campaign. Boost your posts to audiences interested in topics similar to your product.
NUTRITIONAL TESTING
This portion of the blog is specific to food products
Once you have a product you’re confident with you need to have it tested in a lab. There are companies that offer these services as well as most universities. We’re lucky enough to be down the street from the largest university in Michigan.They tested the PH level, shelf stability, and nutritional breakdown. This is all mandatory before taking your product to retail stores. This step can seem daunting, but the company or university will really guide you and take the difficulty out of it. The most difficult portion was getting MSU a recipe to the gram, it needs to be uber specific.
PRODUCTION
This step took the longest. There are seemingly infinite companies out there offering these services. Not to mention the fact that you could produce the product in house and potentially save money. If you’re going to produce in-house make sure you’re bargain shopping. Buy used, compare many prices, and don’t be scared to barter. We chose, for now, to have the production done out-of-house. This way we save labor and are able to save money since we currently don’t have the necessary equipment.
If you’re going to hire a production company, this is cold calling, you truly just need to pick up the phone and start dialing. You should weigh options, get a sample from each company, and pick whichever company best suits your situation. Remember if you find a company but are unhappy in the future for any reason you can always find a new production facility or do it yourself.
MARGINS
The retail world is a game of pennys. Everything you can do to shave from your cost helps. There are several techniques to finding ways to save on cost. You’ll likely be working with several different companies to produce your product. Every company you work with should be viewed as an opportunity to save money. You can shop quotes from other companies and use the quotes to leverage better deals.
Another technique is to try to find cheaper materials, shop around the market and see if there are better options. It should be noted if organic or biodegradable resources play into your brand you won’t have as much wiggle room here.
Buying in bulk, this is one of the most popular ways to cut your margins, it’s also one of the riskiest. If you don’t know you’ll have continuous demand for your product and you order in bulk you could be left with a warehouse full of product nobody wants. You could also buy in bulk and have legislation change requiring you to make changes to your current product. This can be very costly and time consuming. With that being said there are absolutely benefits, you’ll probably save money per unit, you won’t have to worry about reordering, and you’ll save on shipping.
LABELS
Once you figure out how you will produce your product you need to find a labeling company. This not only means finding someone to produce the labels but most likely, designing your labels. It’s important that your labels stay on brand. One great idea is to give a shout out to your local community, these are the people you have to thank for your opportunity to go on this journey. Give the labeling company some ideas and see what they come up with. Don’t spend too long on this. You may be enticed to order way more labels than you need to “save money”, I would recommend against this. Do a smaller order of labels, that way if you think of a way to improve the label down the road you won’t be sitting on tens of thousands of labels customers don’t love. They’ll need your nutrition label, which you should already have from the “Testing” step above, and a UPC which we’ll go over next.
UPC/BARCODE
This step goes hand in hand with the labels. You’ll need barcodes on the labels to sell them at the retail level. This again seems more difficult than it is. Go to www.gs1us.org, all in all it might be a 30-minute project and cost around $250. Send the information you receive from them over to your labeling company and they’ll put your barcode on your label.
Finishing
At this point, you’ll have all the necessary steps complete. That’s it. We hope you use this document as a guideline in the future.
If you found this useful, consider supporting us by purchasing a couple of bottles!
-
-
Continued Service Model of Restaurant Service
OUR SYSTEM
Saddleback BBQ has two locations, both utilize a continued service style of dining. This is a growing trend in the restaurant industry and we expect it to continue to expand.
When customers walk in the door they are greeted and handed menus. Quickly after they are given the option to either find their table or to place their order at the front desk. This allows customers to dine on their own schedule. If you are in a rush, or very familiar with the menu, there may be no reason to go to your table before placing your order. If you want time to talk with your friends and family, you’re more than welcome to do so, and we encourage it.
After placing your order up front, we’ll get your fountain drink or a ticket will be sent to the bartender to prepare your adult beverages. You’ll be given a number to put on your table to identify you. Any Saddleback employee can assist you in any way you see fit. You are not chained to one waiter or waitress. All of our employees are fit to serve you.
We see this as a major improvement to traditional restaurant service. You can add on alcoholic drinks, or any other items you may want without leaving your seat. The essential differences between continued service and normal dine-in service is your initial order is made up front and any employee can help you any step of the way.
OUR REASONING
We made the decision to go with continued service for several reasons:
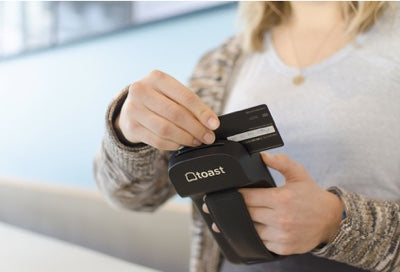
Technology - we use Toast Go tablets to take our orders. This gives our front of house employees the ability to take an order for any customer in the restaurant from anywhere. The reason continued service was not popularized in the past is due in large part to the fact that the available technology would not have allowed it. Thankfully technology has come a long way and we attempt to utilize it.
Continuity - Saddleback in REO town was our first location, opening more than three years ago. We’ve now expanded to two locations. One mistake we made when opening our second location in Okemos was that we did not keep everything consistent between the two restaurants. In the beginning, Okemos had a traditional waiter and waitress service. We later made the decision that it’s important to keep continuity between our two locations, especially if we plan on expanding in the future.
Although the switch to continued service has led to a very small amount of negative feedback, which we greatly appreciate and listen to. Our most recent Net Promoter Score (a metric used to determine how likely your customer base is to refer a friend) was 79, on a scale from -100 to 100. For reference McDonald’s has a -8 and Apple has a 72. (Learn how to measure Net Promoter Score at your Restaurant.)
We are continuing to improve and grow into this new service style, and looking for ways to make this a smoother experience for everyone involved. We are in the business of giving the customer the best dining and service possible. Thank you so much!
-
Confessions of a Pitmaster
Well, I have to say that the people of Okemos have spoken, they love BBQ. It has been our pleasure to bring our brand of Craft BBQ to that side of town. The outpouring of support has been truly amazing and if I do say so myself I thought we did a pretty good job of bringing the same quality that everyone expects in REO Town to Okemos.
Here is a confession though. It has not been easy. You would think the new smoker would cook the same as our old one in REO based on the fact that it’s the same model, just bigger. Wrong, wrong, wrong.
In our old smoker, we can manipulate the hot zones to our advantage and we thought they would be located in a similar spot. Also, we thought we had a reasonable expectation of how long things would take to cook. Well, that was naive on our part. Which goes back to something that talked about in our first blog. Know your smoker. They are all different, no matter what, and you have to spend time cooking on it to get the best results.
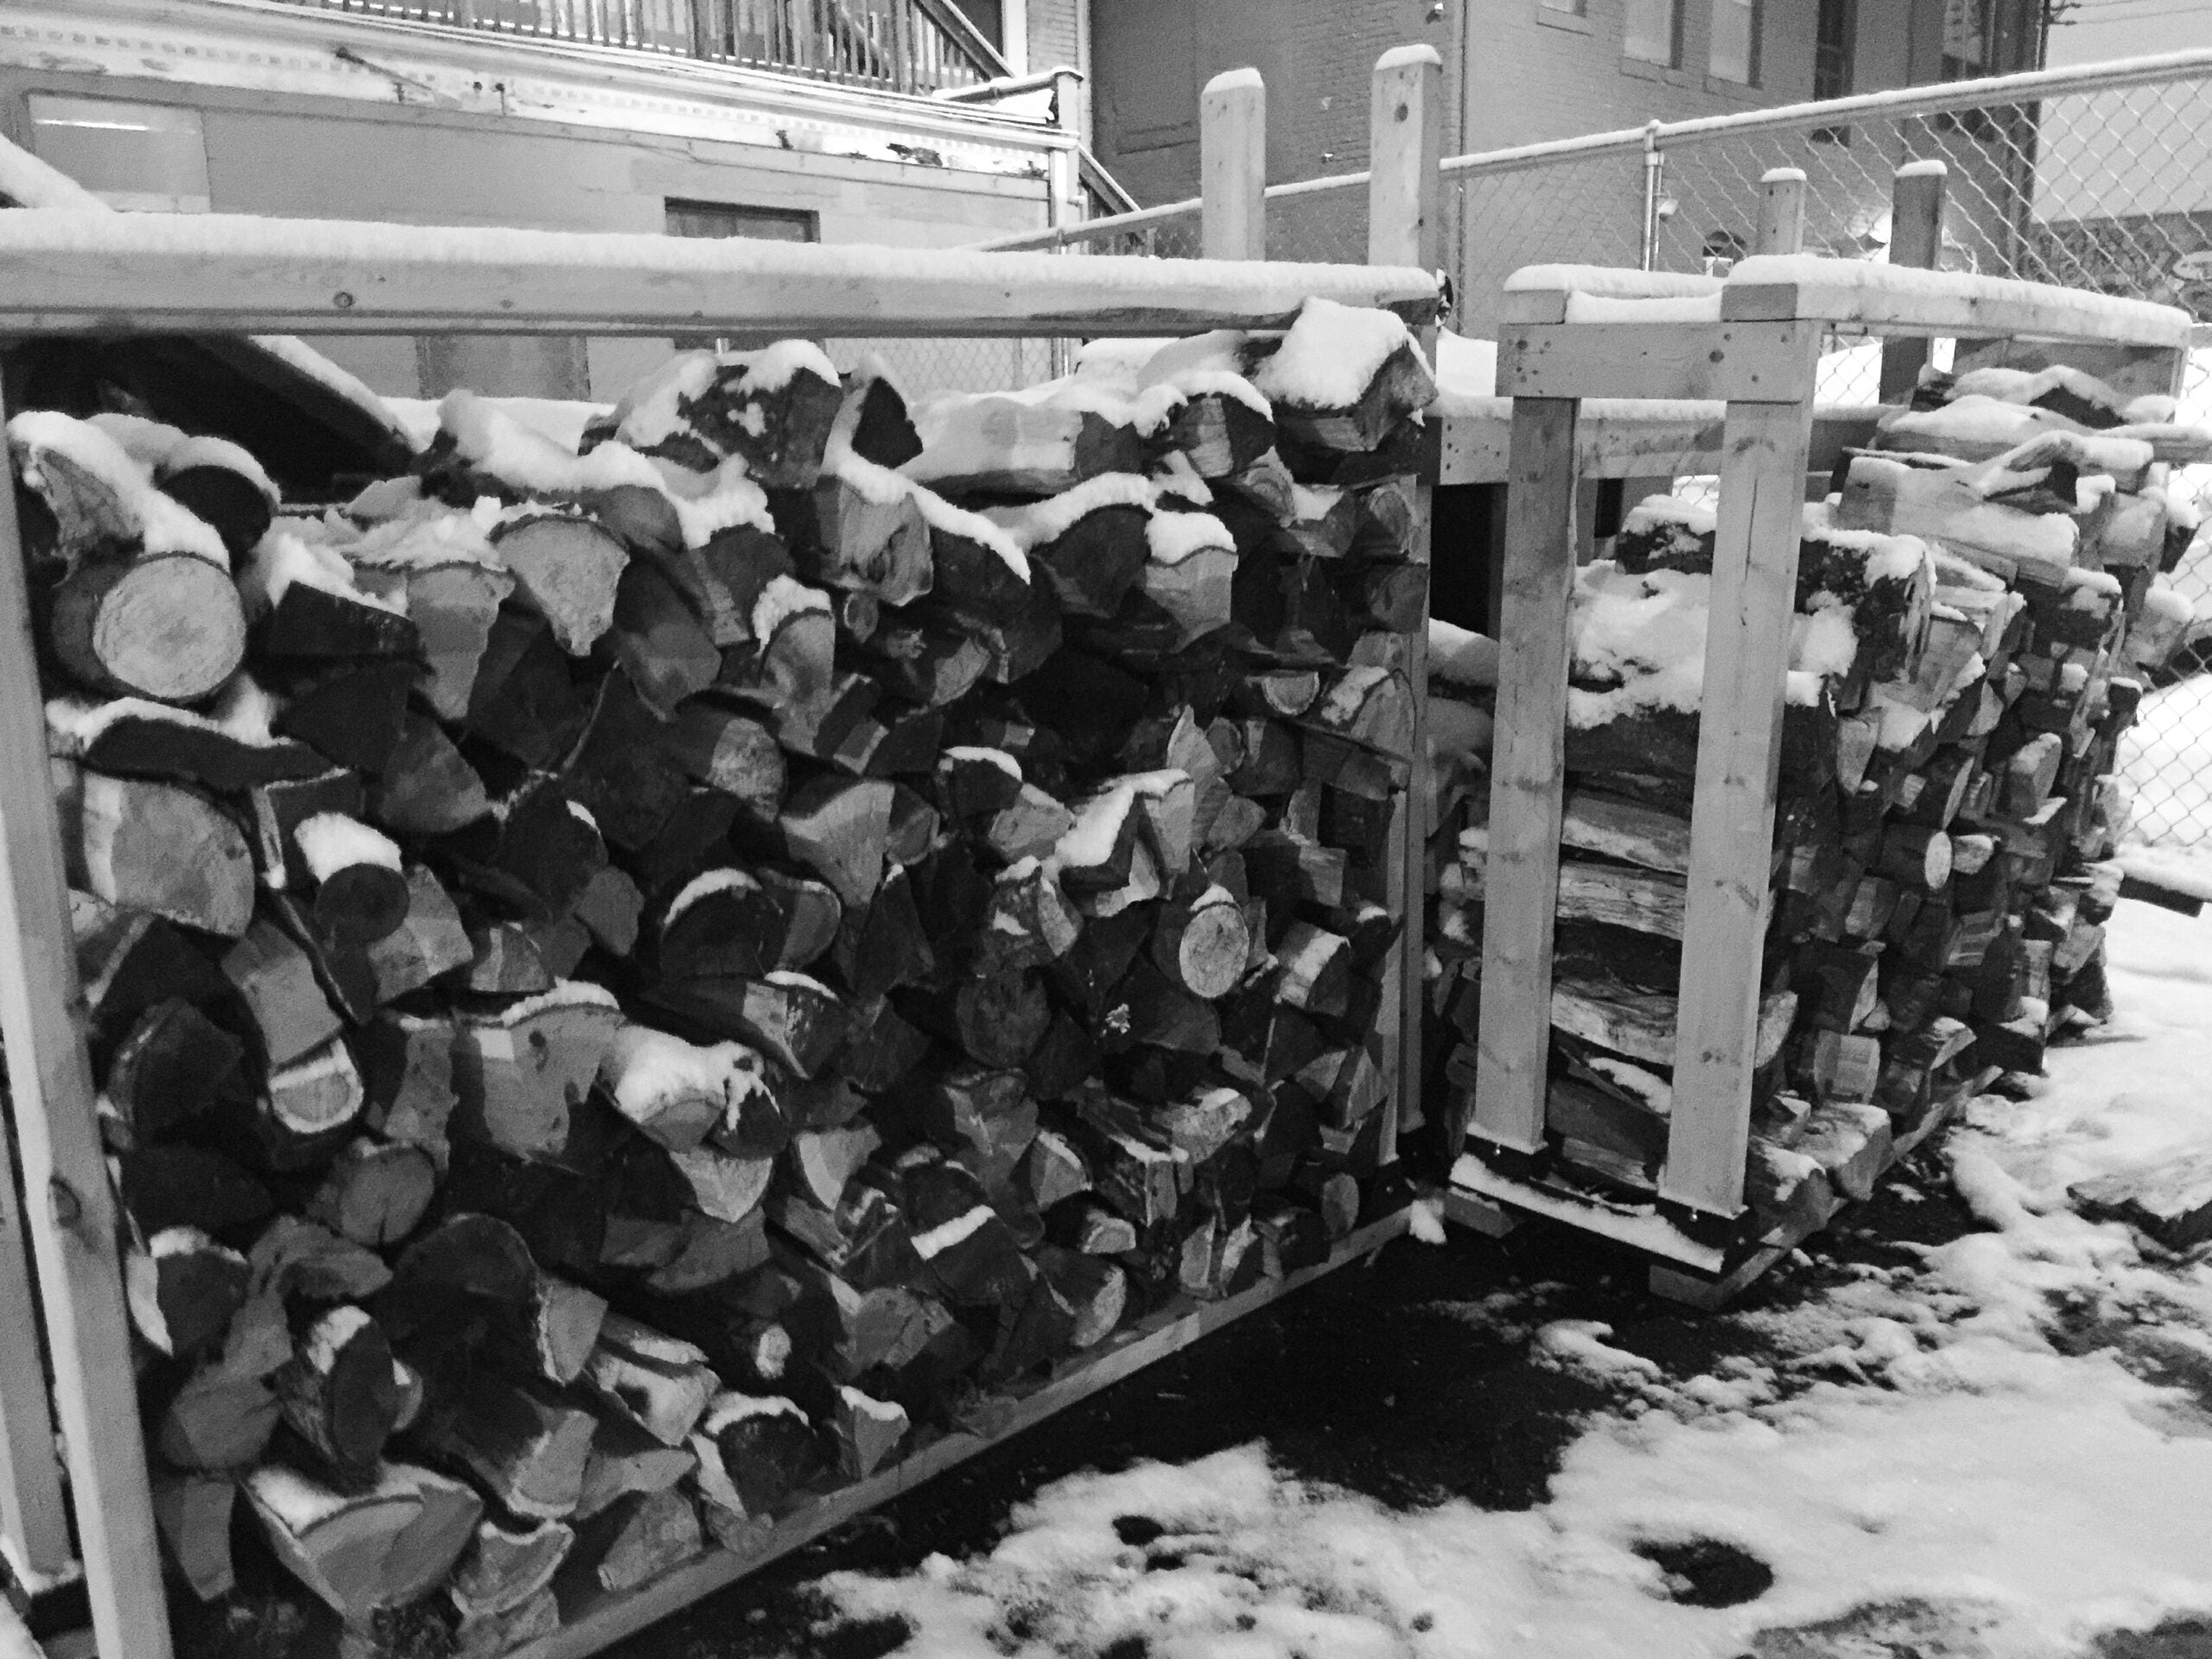
The first day we cooked on it started out pretty well, except a few hours in the doors started to warp and the doors no longer sealed properly. Heat and smoke were pouring out around each of the doors and we could not get a temp above 175 degrees. Not good. To top that off we had a new shipment of wood that we had received earlier that day and it was pretty green, not our usual seasoned cherry that we prefer. That was a very long and stressful day.
Good news is that after two weeks of cooking on the new one we have identified the hot zones and we can place briskets and pork shoulders in the proper place to ensure the best end result. The point side of the brisket should always face the hottest spot since it is usually thicker and has more connective tissue that needs to break down. On a pork shoulder, the side that has the bone exposed needs to be also facing the hottest spot since that is what also takes the longest to get done.
We have also learned that the Okemos/Haslett like their ribs. We used to think that we were ballers when we sold 24 ribs on a Saturday during the summer in REO. Ha, that would maybe make it through lunch. Ribs have always been one of our signature items and also an item that people judge the quality of BBQ on so the fact that they have been so popular is a pretty exciting thing for all of us.
Thank you, everyone, who came out to see us this first week. It has been quite a ride and we are excited to bring Craft BBQ to the east side of town
-
Best Practices for Promoting Your Restaurant Using Instagram
Author: Drew Piotrowski
Instagram can be a powerful tool for letting consumers know about your restaurant. When used effectively it can take your establishment to the next level, driving greater sales, garnering a more engaged clientele and bringing new customers through your door. Here are five tips to keep in mind when using your restaurant’s Instagram account.
Photo Quality – the pictures you post are a direct reflection of your establishment. Make sure the photos are high quality, iPhone cameras work great. When thinking of what to post restaurants have a distinct advantage, it’s no secret we love to look at pictures of food. Here’s your chance to show off your cuisine. How appetizing can you make it look? With that said don’t forget to show off the more personal side of your restaurant, mix in pictures of your wait staff, chef, and happy customers.
Description – the description is one of the most crucial elements to getting your message across. Here’s your chance to tell a story, be comical and clever, announce an upcoming event, whatever you can come up with. Constantly test new strategies to find what works best and keep the content fresh.
Targeting – Instagram (read Facebook) gives you access to powerful tools to reach your target market. You can use them to pinpoint geographic locations, interests, age groups, and genders. This allows you to display posts to folks that aren’t following your page, maybe have never heard of your restaurant, but fit your usual customer’s mold. You can even use this to find new customer segments you never knew existed.
The Regularity of Posting – a popular route is having weekly campaigns, maybe some type of customer of the week, or featured menu item. This gives you something to post with regularity as well as creating a sense of familiarity for your followers.
Get your customers to help you – people love to take pictures of their food, especially when it looks good. Encourage your patrons to share the pictures they take on social media. This is one of the best ways to reach new audiences.
If you keep these tips in mind and explore new ideas you can be truly surprised by Instagram’s impact on your business. It’s an amazing tool, that is relatively inexpensive to use, with nearly unlimited upside potential. Play around with your account, if something doesn’t work try something else. Most importantly have fun while doing it, it will reflect on your company’s page!
-
Measuring Net Promoter Score (NPS) for a Restaurant
Net Promoter Score, or NPS, is a management tool that can be used to gauge the loyalty or likelihood that a customer will recommend you to a friend. It is used by most of the Fortune 500 companies. NPS is a simple loyalty metric that was introduced in a 2003 Harvard Business Review article.
We use NPS as a tool at Saddleback BBQ to gauge how well we are doing with our customers, how we can improve, what we are doing well and how likely our customers are to recommend us to their friends. Obviously, how likely someone is to recommend us to a friend is of critical importance to any business, especially a restaurant. The vast majority of our growth is from word of mouth. People having a good experience and sharing it with their friends.
NPS is a simple question and the responded answers with a rating from 0 to 10. The question we use is: “How likely are you to recommend Saddleback BBQ to someone you know?”
We use a Google Spreadsheet but there are many tools that have been developed for NPS measurement. Delighted is our personal favorite.
When looking at the results, a rating of 9 or 10 means that the person is a Promoter. A rating of 7 or 8 means the person is Neutral and a rating from 0 – 6 means the person is a Detractor.
Your NPS score can be as low as -100 or as high as 100. An NPS greater than 50 is considered excellent. Apple is reported to have an NPS score of around 70-80. Comcast’s NPS score is said to be around -10. (I’m actually surprised it isn’t lower!)
Net Promote Score is calculated by getting the percentage of Promoters and Detractors. Then you subtract the Detractor Percentage from the Promoter Percentage. So if you had 70% promoters and 20% Detractors. Your NPS would be 50 (70 – 20). You can use this handy NPS calculator from the team at Delighted.
At Saddleback BBQ we have had a NPS as low as 48 and as high as 80. Our most recent NPS survey measured in at 78.
In our surveys, immediately following the NPS measurement, we ask an open ended question. “Please explain why you provided the score that you did above.” This open ended question provides a tremendous amount of valuable feedback. In our most recent survey we learned some of the following things that our customers would like us to address:
-
Another location in Meridian. (Hopefully on the way!)
-
Wu Tang Wings all week long
-
Lighter side options. Maybe salads.
-
More special’s
-
A larger location
-
Less congestion around the cash register
-
Dinner options
-
Delivery! (We are working on it!)
-
Liquor / Beer
Some things to consider about Bias…
One of the challenges with any survey is making sure that you construct and deliver the survey in a way that minimizes Bias. One bias that we have in our NPS measurement is “Selection Bias”. We send the survey to people that have subscribed to our email newsletter. Obviously this is a biased group that likes our restaurant enough to subscribe. Ideally we want to change that but we don’t have an easy way to do it now. What we would like to do, when we change Point Of Sale Systems, is to put an NPS survey on the bottom of our receipts. That is not possible at this time. Another problem is that we have a pretty small sample size. The receipt idea that we mentioned above should be able to solve that.The final bias that we want to mention is Self Selection Bias. This bias is pretty hard to overcome. Basically it means that our data is a bit biased because people have to choose to fill out the survey. They “self select” themselves. This inherently means that we are not measuring everyone. This bias will be really hard for us to overcome but we are looking at ways to address it.
I hope that this article has helped you. If you have any questions or comments please let us know on our Facebook Page. Thanks!
Travis Stoliker – Saddleback BBQ
-
-
What does it mean to be a "Scratch Kitchen"? An example - the Saddleback Collard Greens
Did you know that it takes over 9 days to prep our collard greens? Or that we make our own bacon, sausage, salsa, etc. The term “Scratch Kitchen” is thrown around a lot nowdays but we find that few people outside of the restaurant industry actually know what it means. Being a “Scratch Kitchen” takes a lot of work and we do it because we love what we do. To give you an example of what it takes to be a scratch kitchen we want to show you one of our processes: Making the Saddleback Collard Greens.
First, let’s explain what collard greens are and why they can be difficult to cook. Collard greens are a green leafy vegetable that are usually cultivated in colder months after the first frost has fallen. They are in the same family as cabbage and broccoli and are basically big greens leaves with long green stems. They look like something that Adam might have used to cloth him and Eve in the Garden of Eden. They are very tough and because of this they take a little knowledge on how to cook them and lots of time. They are a Southern dish that consists of a salted pork product (bacon, ham hocks, etc.), chicken broth, apple cider vinegar and crushed red pepper flakes. Here is a rundown on how we go about making this southern delicacy:
(Above: Collard Green’s Arriving)
How you trim these guys is of the utmost importance. You have to cut down the stems into small pieces because these are what takes the longest. The stalks get cut down into ⅛ inch slices, think of the width of a tick tack, and the leaves are cut into inch by inch squares. Breakdown all of the greens that you plan on cooking first so that you can just drop them into the pot once you are ready for them.
(Above: Collard Green Stalks Being Cut Down)
Next we cut our house cured bacon (at home any store bought bacon would work) into the same size pieces as the stems of the greens and we cook them in a pot large enough to fit all of your ingredients. Since the greens cook down and reduce in size by half, if you put them in a pot uncooked and they fit – you are all set. We cook the bacon till it gets slightly crispy and most of the fat has rendered (melted) out of it. Once that is done we take our diced red onion and garlic and add them to the pot. These are also cut into the same size pieces as the collard green stems. We cook these until the onions are translucent (see through) and then we add just the stems of the greens and cook them for about a 15 minutes or so to deglaze the pan (removing all of the brown off the bottom of the pan) and also give the stems a head start.
Once this is done we add our chicken stock, apple cider vinegar and crushed red pepper flakes and let all of this come to a light boil. Then we add all of the rest of the greens and let these cook down for hours. Make sure that you keep stirring these every 15 minutes so they cook evenly. They are done once the stems are fork tender.
(Above: House Cured Bacon or Pork Belly. Cured for 7 days)
Usually we cut our greens the day ahead because it takes over an hour to cut up a whole case. We are limited in space to get this done and it’s tough to do if we are busy. All told the second day takes about a total of 4 hours. Half hour total to cook the bacon, onions and garlic and then 3 plus hours for the greens to get tender.
Spending all of this time might seem absurd to some, but like how we smoke our BBQ, we truly believe that the time we take is necessary to provide you with the type of BBQ experience you are looking for. One that takes pride in the process and one that takes time and patience. Know that all of our food is a labor of love and that everything is truly made from scratch. Hopefully this highlights our process and commitment to you.
-
How To Select The Best Wood For BBQ Smoking?
Wood, the most important spice in the world of BBQ. Build an efficient fire, burn quality hardwood, use wood that has been properly seasoned and you have a recipe for quality BBQ.
What’s an efficient fire for BBQ?
Before you select the proper wood, you need to understand the importance of an efficient fire. By building an efficient fire you burn off all of the impurities in the smoke and you are left with the best smoke to flavor your food. An efficient fire for BBQ is one that has sufficient oxygen to burn the wood as completely as possible. If you have dampers on your smoker, leave them wide open. If you have a door to your firebox, leave it open. By letting as much oxygen as possible to your fires, they will burn hot and complete. When you look at the smoke coming out of your chimney it should look almost colorless except for a light blue hue. If you see white smoke it means that you have larger particles that have not been burned off in the form of creosote and impure carbon. Since the particles are larger, they reflect more light and it shows up in your chimney as white smoke. Blue smoke is made up of vapor, which does not reflect much light and is almost colorless. That blue smoke contains all of the flavor compounds of good BBQ smoke. We could go into much more detail about this, but it gets a little geeky, so if you have any questions about anything in our blogs please leave a comment on the Saddleback BBQ Facebook page. Nothing makes us happier than to talk BBQ.How does your primary heat source impact your wood selection?
We all know technology keeps moving forward (even though I can’t keep up) and of course technology has impacted BBQ over the years. In the beginning, smoked BBQ was all done with wood to provide the heat to cook the food in addition to providing the smoked flavor. This process is traditional and we personally think it provides the best possible BBQ. However, it can be very difficult to control the heat and flavor when you are using wood as your heat source. It requires us to have someone monitoring the fire at all hours of the night. For example, as I write this blog post (12/14/2016) I just returned from stoking the fire at 1:23am in 12 degree temperatures.Nowadays, most BBQ smokers use gas, charcoal or electricity as the heat source. Then they add in wood pellets, wood chips, logs or sawdust for the flavoring. Since the heat source is more controlled in these smokers, it is much easier to control the temperature. This makes it much easier to manage and in most cases doesn’t require constant monitoring of the fire. Like Ronco used to say, you just- “Set it and forget it!”
The reason we mention all this is because the primary heat source of your smoker has a big impact on what kind of wood you want to select.
What is seasoned wood for BBQ?
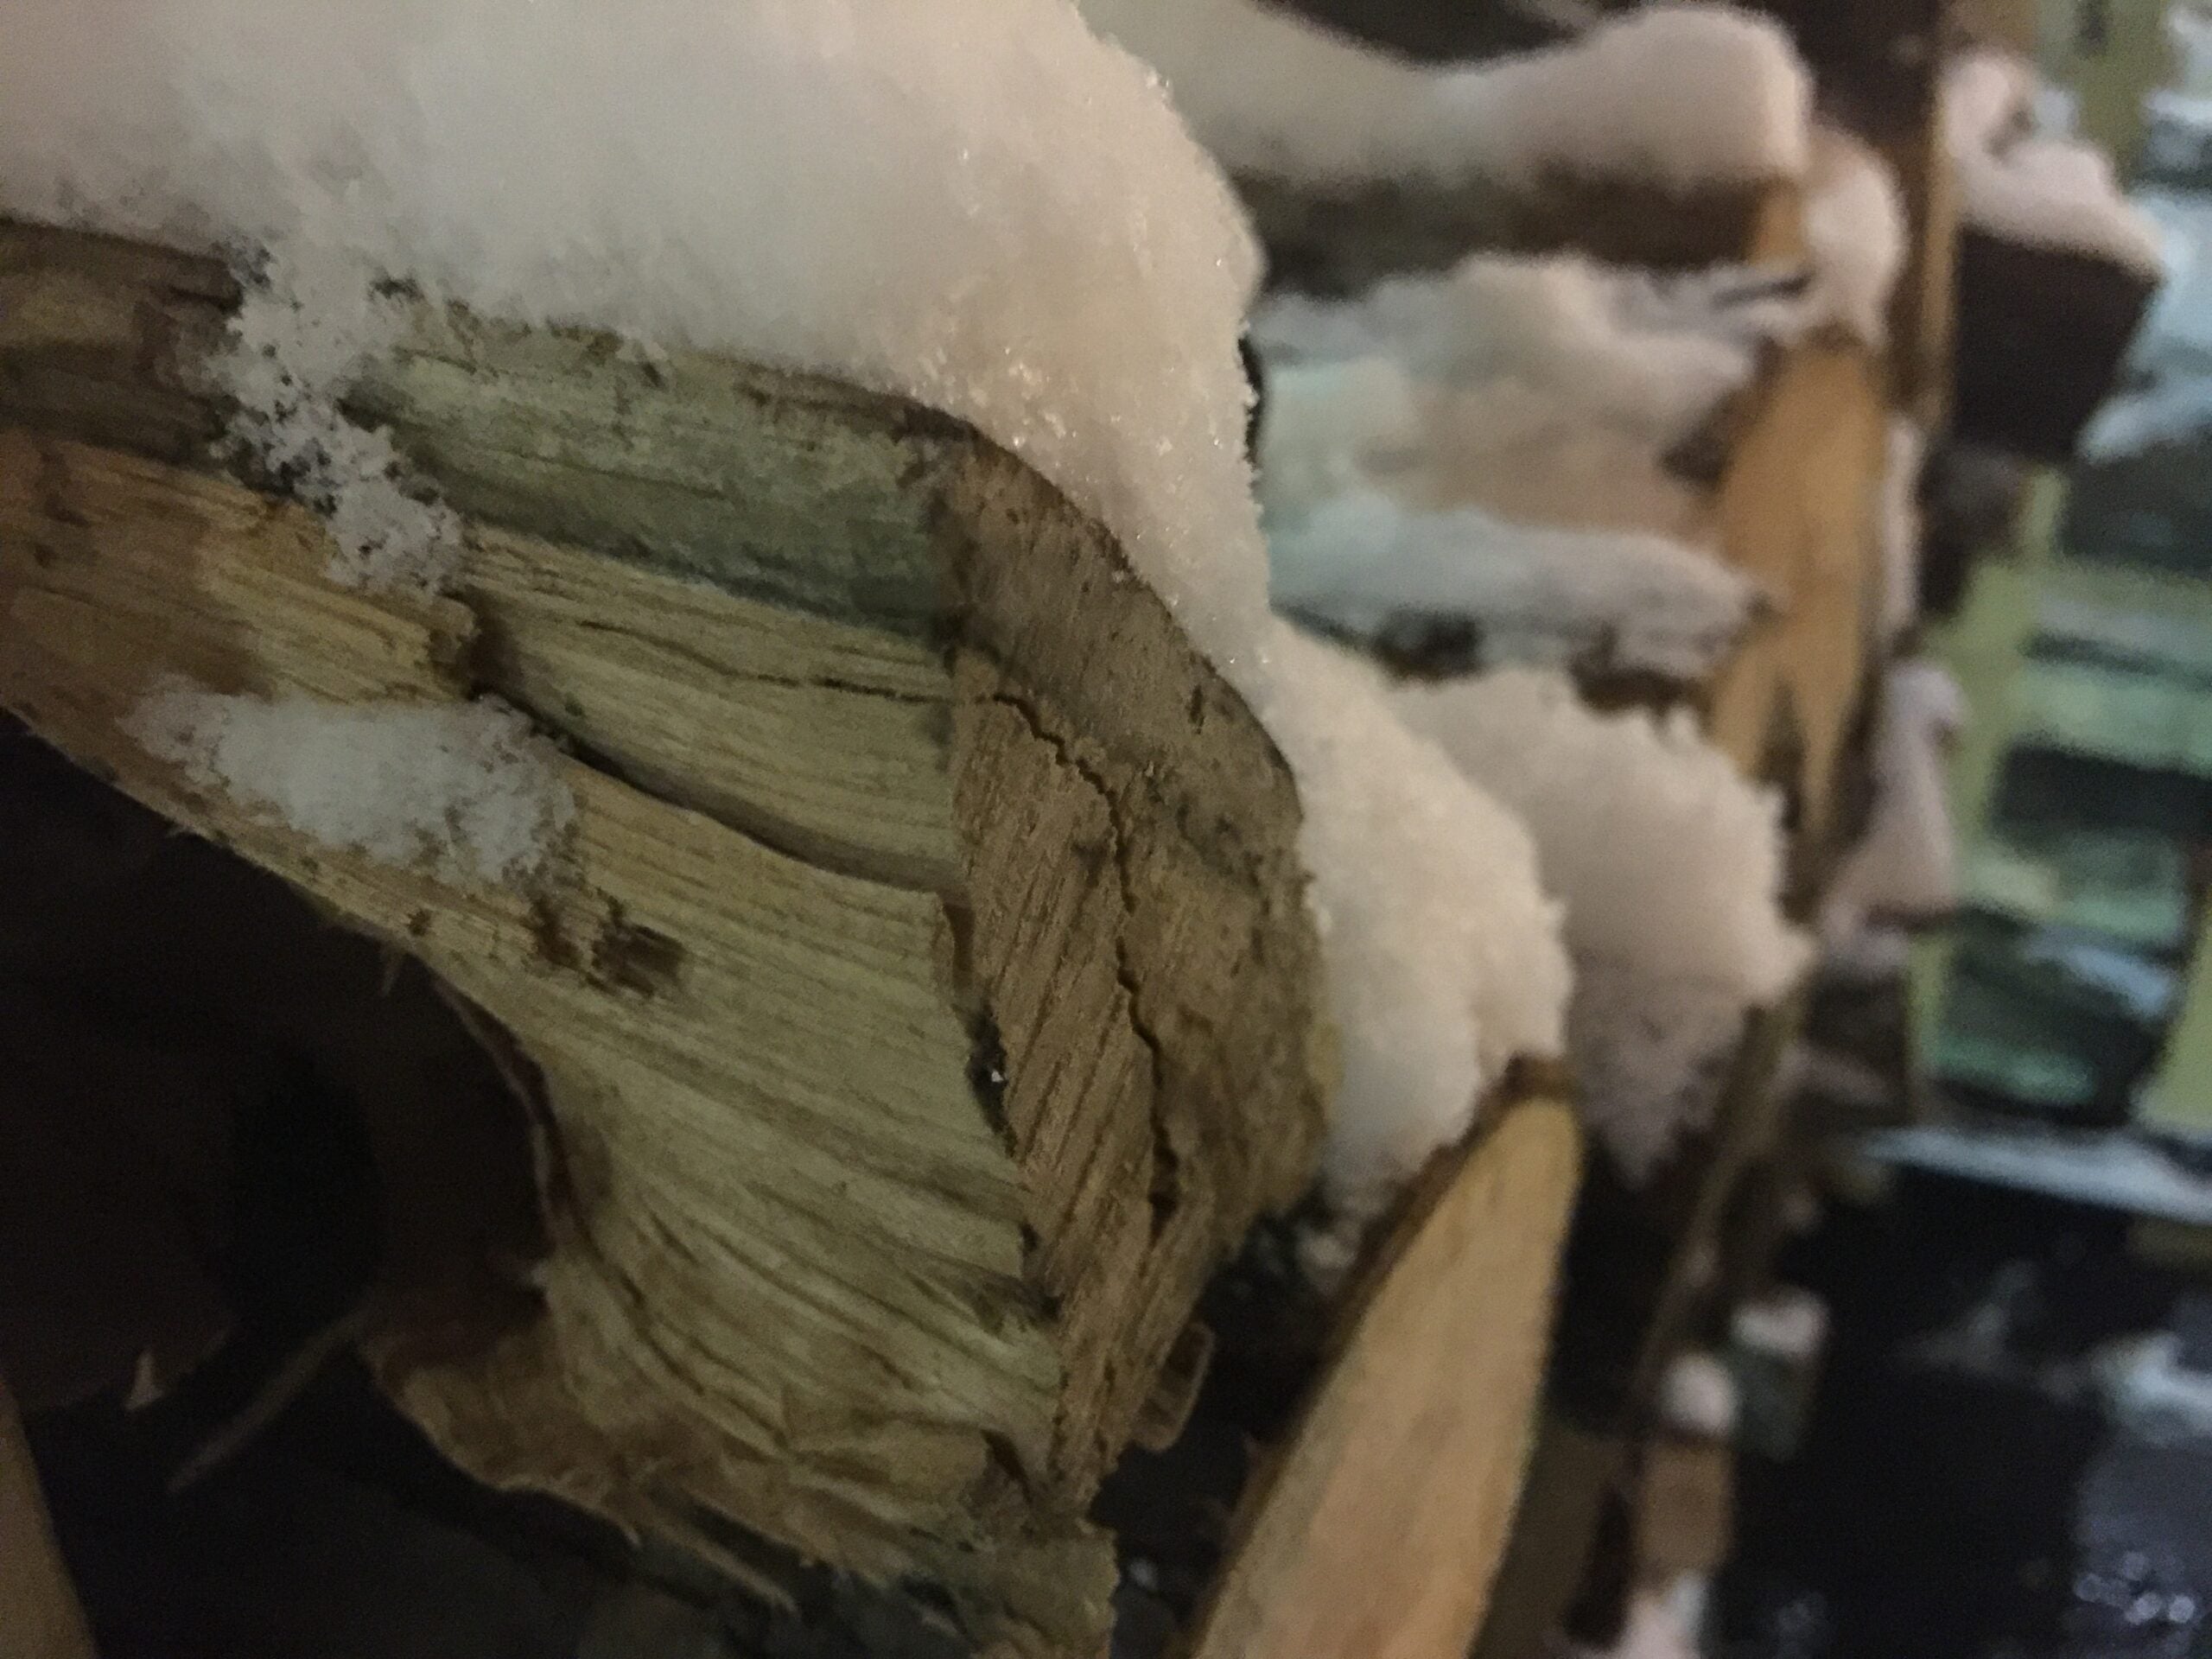
Since we are using wood as our heat source and for flavor, we prefer seasoned wood. Wood that has been dead for a period of 6 months or longer depending on the species. It is difficult for us to find the good seasoned wood we are looking for because almost all of the other BBQ joints in this great state use green wood in their smokers. Which means that the wood supply doesn’t have long enough to dry out and be seasoned like we prefer.Why do these smokers use green wood? As we discussed above, they don’t need to burn wood for heat, most of these smokers use either gas or electricity for heat, and because of this they need lots of smoke to flavor their food. Green wood contains a lot of moisture which makes it burn inefficiently. This produces a lot of white smoke and burns longer to give them the flavor they need. But since we here at Saddleback are using the wood for both heat and flavor, we prefer seasoned wood that has been dead for a while. The important part here is to know your smoker and that will help you pick the right wood.
What type of wood do we use and why?
First things first, Uncle Remus: No, you can’t use lumber scraps in your smoker. That crap is treated with chemicals.In general you want to find a good hardwood without a lot of sap. Nut and fruit woods are great. Since we are in Lansing Michigan, in our perfect world we would use all cherry wood. It produces a light, sweet smoke that we love. The challenge is, it can be hard to find in large quantities seasoned for 6 months or more. Typically, we use a blend of cherry and either hickory or white oak. Hickory and white oak burn clean and produce a nice even heat because they are very dense. They have a little more powerful taste, but they are offset in our other choice of cherry. Basically, in the BBQ world, you use whatever is readily available in your area. In Texas they use a lot of post oak, in Georgia they use a lot of peach, in Michigan we tend to use a lot of cherry and apple. #PureMichigan!
Sure we spend a lot of time talking about spice rubs and their importance, but the importance of good smoke vs. bad smoke will have a bigger impact on your food. The type of wood that you burn, how much moisture it has, and how much oxygen reach your fire will make all of the difference in the world in creating good BBQ. Craft BBQ
~Matt Gillett of Saddleback BBQ. #RespectThePig
-
Top 6 BBQ Restaurant Myths
First of all, we love it when people come in and want to talk BBQ. It’s a passion for us and we believe very strongly that we can always learn more about our craft. While we do take a lot of pride about our BBQ, we would do things differently if we were in a competition or on our own patio with our smokers at home (talk about taking your work home with you, at least in a good way). Here are some examples about what we mean.
Bonus Myth! – That Brisket is way too fatty!
-Added April 4, 2017Brisket is a very fatty cut of meat, which also gives an incredible flavor and it’s one of the reasons that it works so well in the smoker. That fat bastes the brisket through the long process of smoking, giving it that rich beef flavor that everyone loves so much. But, you are in luck if you prefer a leaner cut of brisket. Since the brisket is made up of two muscles that are pretty different, everyone can win. The flat part of the brisket is much leaner and if that is what you prefer all you have to do is request the lean part of the brisket. If we have it left, usually that is the case, then we would be happy to serve it to you. If you prefer a juicier cut with a little more beef flavor ask for the moist end of the brisket.
Myth 6: You have to inject your meat for great BBQ!
We don’t inject any of our meat. We use only the top cuts of meat and we honestly don’t think that they need any enhancements to make them taste good. Plus, if we injected all of our meats it would take most of our day to get this accomplished. Not to mention the potential of cross contaminating something, which is always a big concern for any restaurant. Plus, most commercial injections contain MSG which a fair amount of people are allergic too.
Myth 5: Ribs need to be fall off the bone tender.
RIbs cooked till they fell off the bone in a smoker is just a poor decision. They are not even close to being as juicy and have no texture to them at all. Sure they need to be tender and you should be able to bite clean through them with little effort, but falling off the bone? That’s just blasphemy.
Myth 4: That crispy exterior on our meat is burnt.
That crispy crust is something we take a lot of pride in. First of all, that’s where we have put all of our seasonings so if you cut this off you take away most of the flavor. Sure it looks dark and it feels dry to the touch, but trust us, if you try it you will love it. A couple of weeks ago a customer came in and tried our ribs. He took one look at the bark and automatically thought they we going to be tough, dry, just plain overcooked. He was ecstatic when he bit into them and they were juicy, tender and full of flavor. Give it a try and you will be surprised when you want to ask for a piece with more bark.
Myth 3: All good BBQ is smothered in sauce.
We love sauce and think that it has a definite place in BBQ. However, we like the opportunity for our customers to try our BBQ and to taste the bark that we have tried so hard to create. Also, we believe that you should be able to taste the type of meat that you are eating. If you coat it in sauce you might not be able to get that experience. Please try our sauces, but first try our BBQ to get an idea of all the hard work that it took to bring it to your table,
Myth 2: Food that has a pink ring on the outside of the meat isn’t cooked.
What you are seeing there is what’s called the smoke ring. Not to get complicated, but the smoke combined with the protein combines to make a rosy color on the outside of the meat. You could never get undercooked meat on the outside, all meat cooks from the outside in. So if you see it, don’t worry, we check all of our BBQ for doneness with a digital instant read thermometer.
Myth 1: Restaurants should never run out of food.
Trust us, we agonize over how much to put on our smokers and we would love nothing more than to never run out of food. However, we only have so much room on our smokers. With Wu Tang Wings on Wednesdays, as an example, we can only fit so much on at a time. In order to make everything fit, we have to make some hard choices about what we might have to cut close to get wings on for that special one day special. Please be understanding when we sell out and don’t be afraid to call before you leave to make sure we have what you are looking for. With the exception of Burnt Ends on Friday, we will reserve anything else for you.
-
What does Saddleback BBQ use for Spice Rubs?
Since we started our blog we have been talking about quality blue smoke and how that’s the best seasoning that you can use on BBQ. In addition to that we need to also talk about rubs and their role in BBQ. What constitutes a rub and why is it so important?
First, rubs include, but are not limited to sugar, salt, black pepper and other assorted ingredients. A good general start to a good BBQ rub would be 2 parts brown sugar, 2 parts kosher salt, 1 part black pepper, 1 part chili powder and then you would round it out with a few of the following: garlic powder, cumin, thyme oregano, etc. Typically people make different rubs for beef, pork and poultry to better suit the different taste profiles. We have a different spice rub for all of our meats at Saddleback. We have a more savory rub for our brisket. A more sweet and spicy rub for pork. We have an all around rub for our chicken. We know there are lots of good commercial rubs out there, but in order to get the results in flavor and to create a great bark – we need to create our own.
Second, why are rubs so important to everything we do in BBQ? Well rubs have a direct effect on the creation of bark, the dark crispy outer coating on our briskets and pork shoulders. Think of toasting bread and its effect on not only the taste of the bread, but also the texture. Some see the dark, crispy outer coating and think it must be burnt. Oh no, that’s where the rub comes into creating that magical sensation of sweet, salty, crispy goodness. It makes any pitmaster die a little inside when someone cuts off what they think must only be burnt. With a good rub you also help attract good smoke onto your BBQ. The coarseness of our salt, sugar and black pepper help to “catch” the very fine particles in blue smoke. That’s why our BBQ will have that dark brown (almost black) color and you know that we have done our job right.
We will go into more depth on our rubs when we break down our meats and how we smoke each of them. Each one needs its own rub to not only help season the meat, but to also help create that great bark that we all love.
-
Saddleback Garden, Scratch Kitchen & Our Meat
Did you know that we have our own garden? We have a garden plot down the street that we planted tomatoes, jalapenos, habaneros, pickling cucumbers and fresh herbs to use at the restaurant. Through the REO Town Garden Program we have a double plot lined up for next year. To take advantage of all of the new space, we are going to add collard greens, asparagus, tomatillos and potatoes. Also, we buy some of our produce from a local urban farmer to put the best and freshest produce on our menu. You can’t get better produce that you grow yourself or hyper local and let ripen on the vine instead of on a truck shipped in from outside of our great state.
Ever heard the term Scratch Kitchen? For us that means we start with basic ingredients and transform them into something special (No pre-made items here). Everything from our rubs, bbq sauces and sides are all made from scratch. Some items are a labor of love, like collard greens that take hours to perfect. Or in other cases we just feel that we can make something better than what’s offered commercially. For example, the spice rubs that we use on our meats.
We only source the best cuts of meat for our bbq. For example, we only use Certified Angus Beef or CAB for our briskets. Only the top 10% of Choice Beef makes the grade for CAB. These animals have room to graze, eat a diverse diet, and are better treated animals. You can really tell the difference in the quality of fat on CAB briskets. Fat on a commodity brisket is hard as a rock. Fat on a CAB brisket is nice and soft and is able to render down after 12+ hours in our smokers. Sure, we have tried different grades like Prime, Wagyu and Kobe briskets, but for us the comparison did not justify the price we would have to pay. By using CAB briskets, we feel that we are offering the best quality at a more reasonable price.
We don’t have microwaves or use freezers in our daily operations. Sure it would be easier to heat up things in a microwave or freeze something to use it later. Except this does not keep with our ethics about producing the best, freshest, quality food for you. Just like how we smoke our meats, low and slow with real wood fires, we make all of our food from scratch with the ingredients that we even grow ourselves.
If it was easy, everyone would do it. Sure we could do it the easy way and sleep more and have cheaper prices, but we want to deliver only the best possible bbq for you: Craft BBQ.


- Previous page
- Page 3 of 4
- Next page