Blog
-
Reheating Meats
Saddleback’s Recommended Reheating Process – MEAT
We recommend using Servsafe procedures when reheating food. This will help eliminate any chance of sickness and also leads to what we feel is the best end product. Use this as your cheat sheet anytime you have leftover BBQ, whether it be from Saddleback or your backyard. These are methods we’ve developed over the years that have proven to consistently give delicious results.
Brisket
- Wrap entire brisket in plastic wrap
- Put 3/4 of an inch of water in a large pan.
- Place wrapped brisket in pan
- Place aluminum foil over the entire pan, make sure all sides of the foil are tight
- Place in oven at 350 degrees
- Depending on the size of the brisket you’re reheating this could take between 20 minutes to 1.5 hours
- Temp the brisket – 165 degrees means you’re done
- Enjoy!
Enjoy a more complete blog here: https://www.saddlebackbbq.com/how-reheat-bbq-brisket
Baby Back Ribs
- Wrap your rack of ribs in aluminum foil
- Place in oven at 350 degrees
- Check after 15 minutes – looking for 165F
- If not done after 15 minues, check every 5
- Enjoy!
Enjoy a more complete blog here: https://www.saddlebackbbq.com/how-reheat-baby-back-ribs
Pork Shoulders/Pulled Pork
- If you’re reheating a whole shoulder, or large portion use the same steps as brisket. If reheating a smaller portion, or a portion that has already been pulled, use the method below.
- Place in pork in frying pan on medium heat
- Add small portion of water to bring back some moisture
- Can suppliment with your favorite BBQ Sauce!
Enjoy a more complete blog here: https://www.saddlebackbbq.com/how-reheat-pork-shoulders-pulled-pork
Sausage
- Wrap sausage link in plastic wrap
- Place sausage in deep pan with about 1/2 inch of water
- Wrap pan in aluminum foil, maling sure the edges are tight
- Cook for 15 minutes, looking for 165F, if not done check every 5 Minutes
Chicken Thigh/ Chicken Breast
- Place Chicken in deep pan
- Fill pan with water, the water should cover about half of chicken
- Tightly wrap pan with aluminum foil
- Place in oven at 350F
- Check after 15 minutes, looking for 165 Degrees
Beef Ribs
- Wrap the beef rib entirely in aluminum foil
- Place in the oven at 350F, Check after 15 minutes – looking for 165F
- If not done place back in checking every 5 minutes
-
How to Reheat Baby Back Ribs
How to Reheat Baby Back Ribs
Cooking the perfect rack of ribs is challenging enough. Now, imagine trying to reheat them and still have them taste just as good. It’s tough, but we believe we have a solution that works. At Saddleback, we take a contrarian approach to ribs. We don’t believe they should "fall off the bone," and this philosophy actually helps when reheating. The ribs will have more room to cook without becoming overdone.
Our Process:
- Wrap the rack of ribs in aluminum foil.
- Place them in the oven at 350°F for 15 minutes.
- Remove the ribs from the oven and check for an internal temperature of 165°F.
- If they haven’t reached 165°F, return them to the oven and check every 5 minutes.
We’ve conducted multiple blind taste tests with this process, and we’ve been unable to tell the difference between freshly cooked ribs and reheated ones. We hope you enjoy them as much as we do!
Click Here for More Information on Z Grills
Click Here to Purchase a Z Grill and Take Your Skills to the Next Level
-
Confessions of a Pitmaster
Well, I have to say that the people of Okemos have spoken, they love BBQ. It has been our pleasure to bring our brand of Craft BBQ to that side of town. The outpouring of support has been truly amazing and if I do say so myself I thought we did a pretty good job of bringing the same quality that everyone expects in REO Town to Okemos.
Here is a confession though. It has not been easy. You would think the new smoker would cook the same as our old one in REO based on the fact that it’s the same model, just bigger. Wrong, wrong, wrong.
In our old smoker, we can manipulate the hot zones to our advantage and we thought they would be located in a similar spot. Also, we thought we had a reasonable expectation of how long things would take to cook. Well, that was naive on our part. Which goes back to something that talked about in our first blog. Know your smoker. They are all different, no matter what, and you have to spend time cooking on it to get the best results.
The first day we cooked on it started out pretty well, except a few hours in the doors started to warp and the doors no longer sealed properly. Heat and smoke were pouring out around each of the doors and we could not get a temp above 175 degrees. Not good. To top that off we had a new shipment of wood that we had received earlier that day and it was pretty green, not our usual seasoned cherry that we prefer. That was a very long and stressful day.
Good news is that after two weeks of cooking on the new one we have identified the hot zones and we can place briskets and pork shoulders in the proper place to ensure the best end result. The point side of the brisket should always face the hottest spot since it is usually thicker and has more connective tissue that needs to break down. On a pork shoulder, the side that has the bone exposed needs to be also facing the hottest spot since that is what also takes the longest to get done.
We have also learned that the Okemos/Haslett like their ribs. We used to think that we were ballers when we sold 24 ribs on a Saturday during the summer in REO. Ha, that would maybe make it through lunch. Ribs have always been one of our signature items and also an item that people judge the quality of BBQ on so the fact that they have been so popular is a pretty exciting thing for all of us.
Thank you, everyone, who came out to see us this first week. It has been quite a ride and we are excited to bring Craft BBQ to the east side of town
-
Wagyu Brisket
One of the things that I love about bbq is taking inexpensive cuts of meat, that take a low and slow approach to get the most out of, and turning them into something truly amazing. Cuts like brisket and a pork shoulder need gentle heat for hours to become tender, juicy and flavorful. If you were to cook them like a steak on the grill you would be horribly disappointed with an extremely tough piece of meat that you could hardly chew.
What if you took a premium grade of meat and cooked it low and slow for hours over a fire produced by burning a blend of cherry and hickory wood? Great question! We had done that very thing for our anniversary the last two years when we smoked Wagyu brisket from Snake River Farms. What makes Wagyu so special? Does it really make that much of a difference compared to anything else that I have tried? If it so good why don’t I see it around?
Before we get into the different grades, let’s talk about marbling and how that affects the quality of beef in the different grades. Marbling consists of the amount of fat in the lean sections of the beef, like a ribeye. It’s important because this marbled fat holds most of the flavor and once it heats up it renders down and makes the meat tender. If you see a steak at your meat counter and it’s bright red with little or no white “marbling”, then it would be safe to say that it won’t be as tender or as flavorful as the one that has speckled “marbling” throughout.
The USDA has three different grades: Select, Choice, Prime. Select has little or no marbling and makes up most of the beef that you see at your local grocery store. Choice has noticeable marbling, but not a lot and you will see a noticeable difference between select and choice with flavor and tenderness. Prime has significant marbling, and only 3% of the beef produced in the U.S. make up this grade. Usually, only restaurants have access to this grade and you hardly ever see this around.
Now we get to Wagyu, which is a grade higher than even prime. Wagyu is a type of cattle from Japan that have been imported to the U.S. and crossbred with Angus (a type of cattle found in the U.S.) to help it to adapt to our climate and thrive. Wagyu has more marbling than Prime and if you see a Wagyu steak it looks like it’s half fat and half meat making it the most tender, juicy, and flavorful steak that you have ever tried.
So what does all that mean for us at Saddleback? Well first off when we get these things delivered it’s like in the movies during those love scenes where it gets really quiet. Things move very slow and two people are “running” towards each other almost skipping with some sappy music playing. There is a slight glow around the delivery driver, wow things got weird. Needless to say, it’s a big deal around here. Anyways when you compare our CAB brisket to one of these bad boys, the first thing you notice is that fat cap on top. It’s so supple that you swear that you could use it as a pillow (yes I have had that very thought). Flip it over and you can see that it’s almost a 50/50 blend of fat and brisket.
Cutting one of these guys is so much fun. The juice just runs out of it and it’s so tender you barely have to use your knife. We only season the Wagyu with a salt/pepper/garlic powder blend to let the beef flavor really come through. I know that they cost more, but if you love our brisket, you have got to try the Wagyu. It’s like a slice of heaven on a plate.
-
Burnt Ends
I remember the first time that I heard the term “burnt ends” when I started learning about BBQ. At first, I thought the term was referencing something that had gone terribly wrong in the smoker that would never yield anything close to being classified as edible. Oh, how I was wrong! Now they are my favorite thing we have on the menu, and from the lines that form on Fridays, I think that you would agree. Let’s get into the 411 about burnt ends and see what the fuss is all about.
What are burnt ends?
Burnt ends traditionally come from the point end of the brisket that butchers would trim away because they were fattier, tougher and not as sought after. Since butchers are trained not to waste anything, most would save these pieces for themselves as a treat because they had so much marbling (fat=flavor) and tasted delicious. Kansas City was a meat packing district and a hub for the railroad and this is one of the reasons that Kansas City is so ingrained in the B.B.Q. culture. They would break down the steers and ship out the cuts that would bring back the most in sales and they would smoke what was leftover and sell it locally. Since the flat was more likely to sell, they were left with the point end of the brisket. The point end was also the tastiest part due to the fat content, so they would treat themselves to a little snack. Also, since the brisket would take longer to cook and break down, all of the marbling the point end would have quite a bit more bark which is darker in color (but not burnt) crust on the outside of the brisket, hence the name burnt ends.Burnt ends have evolved over the years and most interpretations take parts of the whole brisket (not just the point) and cube them up, season them a second time, add a sweet and savory ketchup based sauce and smoke them a second time. That’s exactly what we do at Saddleback BBQ. We save up portions of the point and flat and season them with our brisket rub and coat them in our red sauce so we can smoke them for a second time for about a total of 2 hours. They’re a delicacy. Because we have to save up all week to make them, we can only have them on the menu once a week, otherwise we would run them everyday. We feature Burnt ends every Friday.
Burnt Ends are something we take great pride in. People line up at 11:00 and we have a line out the door until they run out. We try to have enough to get through the lunch rush (1:30pm) and we usually come pretty close. Make sure you can get here early, because they go quick.
– Matt Gillett
-
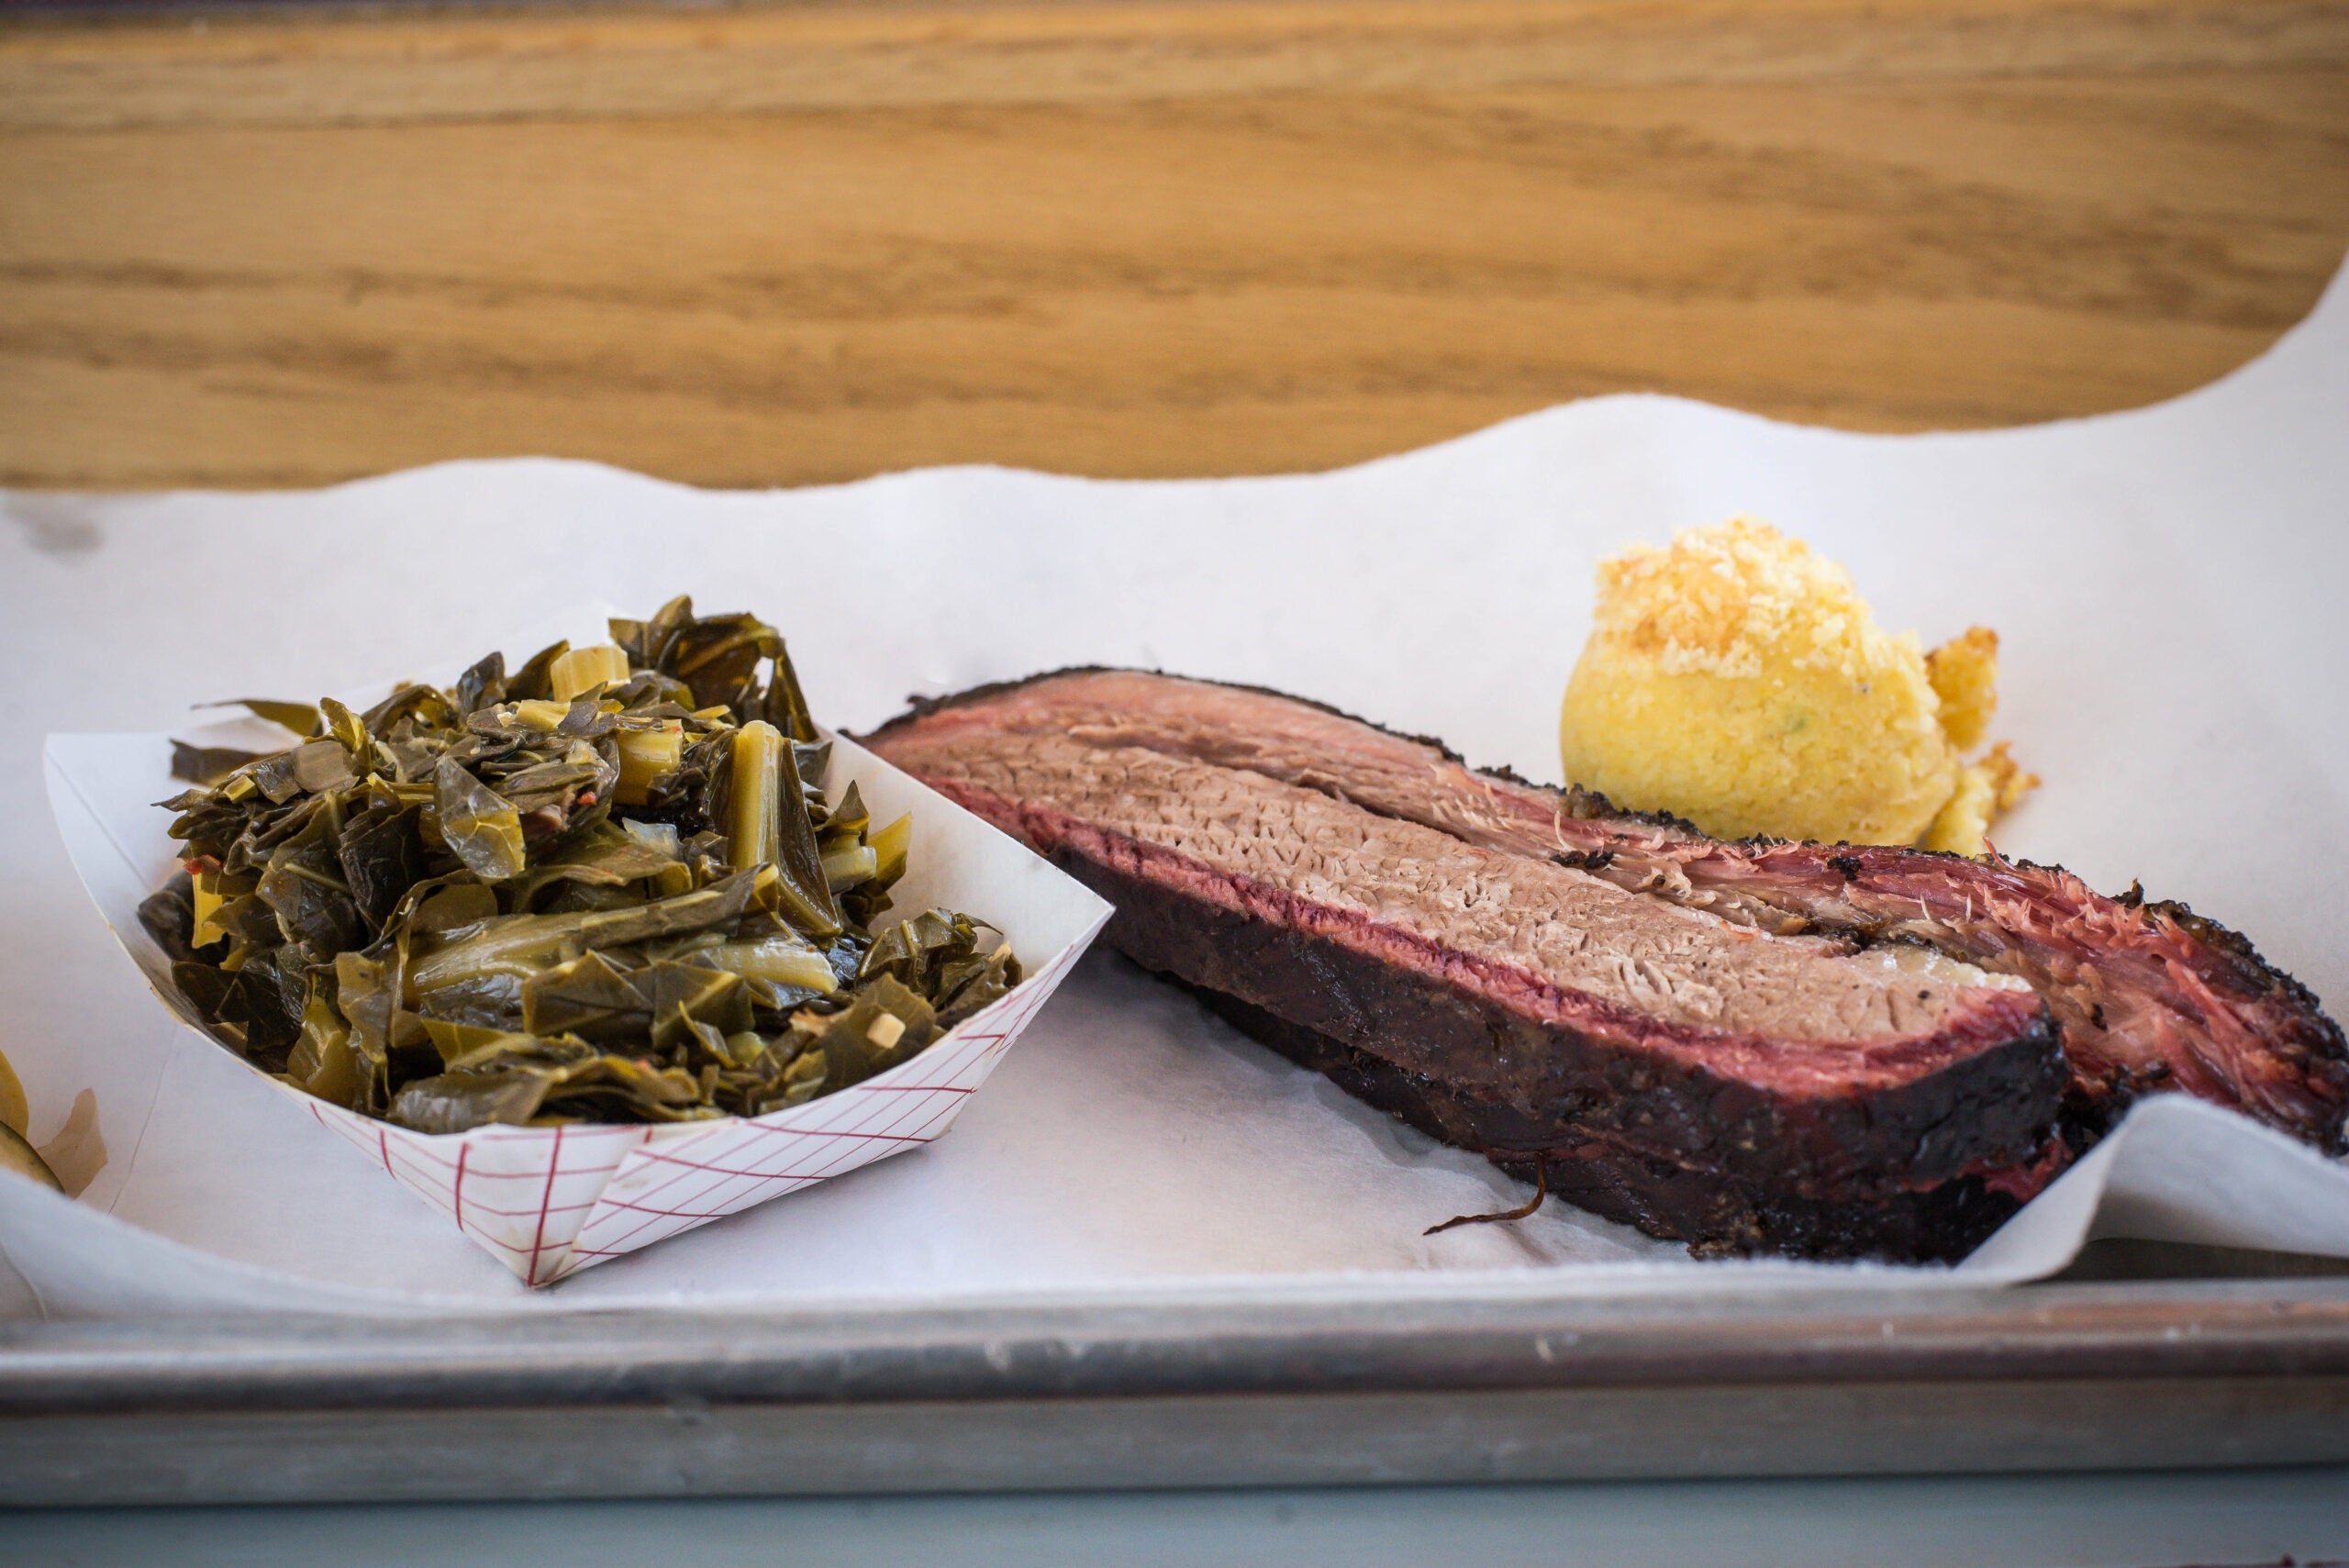
What does it mean to be a "Scratch Kitchen"? An example - the Saddleback Collard Greens
Did you know that it takes over 9 days to prep our collard greens? Or that we make our own bacon, sausage, salsa, etc. The term “Scratch Kitchen” is thrown around a lot nowdays but we find that few people outside of the restaurant industry actually know what it means. Being a “Scratch Kitchen” takes a lot of work and we do it because we love what we do. To give you an example of what it takes to be a scratch kitchen we want to show you one of our processes: Making the Saddleback Collard Greens.
First, let’s explain what collard greens are and why they can be difficult to cook. Collard greens are a green leafy vegetable that are usually cultivated in colder months after the first frost has fallen. They are in the same family as cabbage and broccoli and are basically big greens leaves with long green stems. They look like something that Adam might have used to cloth him and Eve in the Garden of Eden. They are very tough and because of this they take a little knowledge on how to cook them and lots of time. They are a Southern dish that consists of a salted pork product (bacon, ham hocks, etc.), chicken broth, apple cider vinegar and crushed red pepper flakes. Here is a rundown on how we go about making this southern delicacy:
(Above: Collard Green’s Arriving)
How you trim these guys is of the utmost importance. You have to cut down the stems into small pieces because these are what takes the longest. The stalks get cut down into ⅛ inch slices, think of the width of a tick tack, and the leaves are cut into inch by inch squares. Breakdown all of the greens that you plan on cooking first so that you can just drop them into the pot once you are ready for them.
(Above: Collard Green Stalks Being Cut Down)
Next we cut our house cured bacon (at home any store bought bacon would work) into the same size pieces as the stems of the greens and we cook them in a pot large enough to fit all of your ingredients. Since the greens cook down and reduce in size by half, if you put them in a pot uncooked and they fit – you are all set. We cook the bacon till it gets slightly crispy and most of the fat has rendered (melted) out of it. Once that is done we take our diced red onion and garlic and add them to the pot. These are also cut into the same size pieces as the collard green stems. We cook these until the onions are translucent (see through) and then we add just the stems of the greens and cook them for about a 15 minutes or so to deglaze the pan (removing all of the brown off the bottom of the pan) and also give the stems a head start.
Once this is done we add our chicken stock, apple cider vinegar and crushed red pepper flakes and let all of this come to a light boil. Then we add all of the rest of the greens and let these cook down for hours. Make sure that you keep stirring these every 15 minutes so they cook evenly. They are done once the stems are fork tender.
(Above: House Cured Bacon or Pork Belly. Cured for 7 days)
Usually we cut our greens the day ahead because it takes over an hour to cut up a whole case. We are limited in space to get this done and it’s tough to do if we are busy. All told the second day takes about a total of 4 hours. Half hour total to cook the bacon, onions and garlic and then 3 plus hours for the greens to get tender.
Spending all of this time might seem absurd to some, but like how we smoke our BBQ, we truly believe that the time we take is necessary to provide you with the type of BBQ experience you are looking for. One that takes pride in the process and one that takes time and patience. Know that all of our food is a labor of love and that everything is truly made from scratch. Hopefully this highlights our process and commitment to you.
-
How To Select The Best Wood For BBQ Smoking?
Wood, the most important spice in the world of BBQ. Build an efficient fire, burn quality hardwood, use wood that has been properly seasoned and you have a recipe for quality BBQ.
What’s an efficient fire for BBQ?
Before you select the proper wood, you need to understand the importance of an efficient fire. By building an efficient fire you burn off all of the impurities in the smoke and you are left with the best smoke to flavor your food. An efficient fire for BBQ is one that has sufficient oxygen to burn the wood as completely as possible. If you have dampers on your smoker, leave them wide open. If you have a door to your firebox, leave it open. By letting as much oxygen as possible to your fires, they will burn hot and complete. When you look at the smoke coming out of your chimney it should look almost colorless except for a light blue hue. If you see white smoke it means that you have larger particles that have not been burned off in the form of creosote and impure carbon. Since the particles are larger, they reflect more light and it shows up in your chimney as white smoke. Blue smoke is made up of vapor, which does not reflect much light and is almost colorless. That blue smoke contains all of the flavor compounds of good BBQ smoke. We could go into much more detail about this, but it gets a little geeky, so if you have any questions about anything in our blogs please leave a comment on the Saddleback BBQ Facebook page. Nothing makes us happier than to talk BBQ.How does your primary heat source impact your wood selection?
We all know technology keeps moving forward (even though I can’t keep up) and of course technology has impacted BBQ over the years. In the beginning, smoked BBQ was all done with wood to provide the heat to cook the food in addition to providing the smoked flavor. This process is traditional and we personally think it provides the best possible BBQ. However, it can be very difficult to control the heat and flavor when you are using wood as your heat source. It requires us to have someone monitoring the fire at all hours of the night. For example, as I write this blog post (12/14/2016) I just returned from stoking the fire at 1:23am in 12 degree temperatures.Nowadays, most BBQ smokers use gas, charcoal or electricity as the heat source. Then they add in wood pellets, wood chips, logs or sawdust for the flavoring. Since the heat source is more controlled in these smokers, it is much easier to control the temperature. This makes it much easier to manage and in most cases doesn’t require constant monitoring of the fire. Like Ronco used to say, you just- “Set it and forget it!”
The reason we mention all this is because the primary heat source of your smoker has a big impact on what kind of wood you want to select.
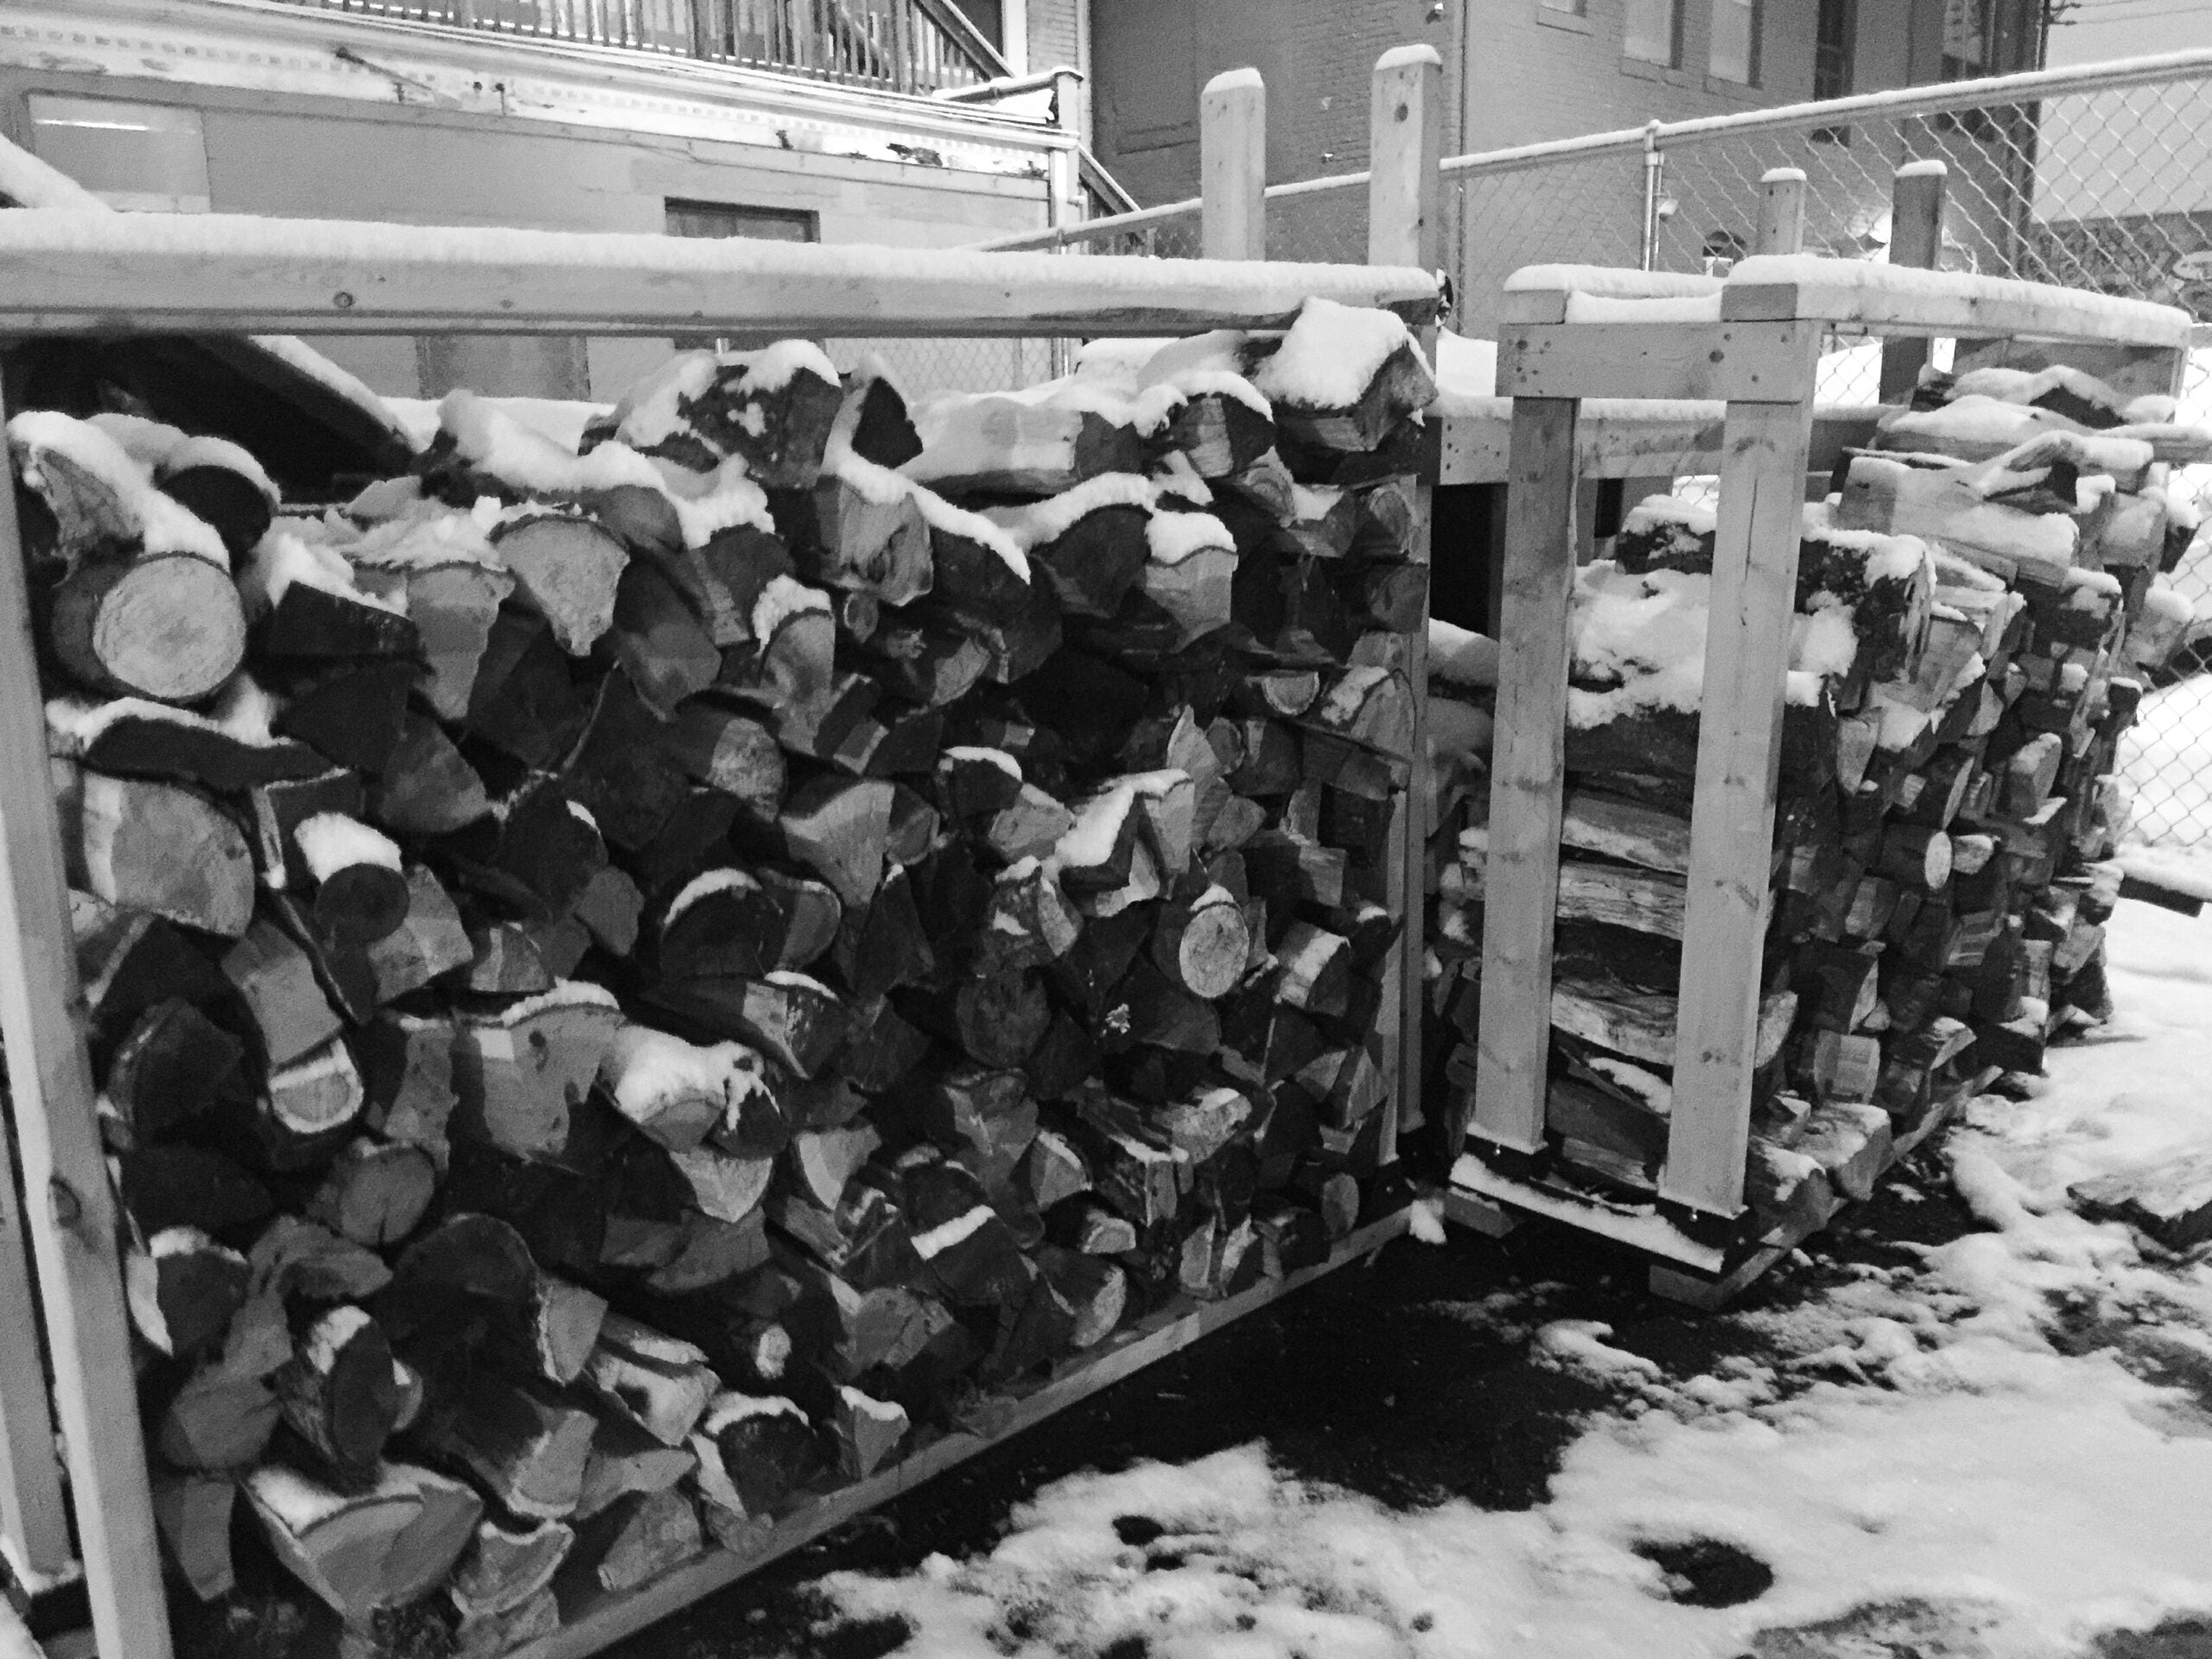
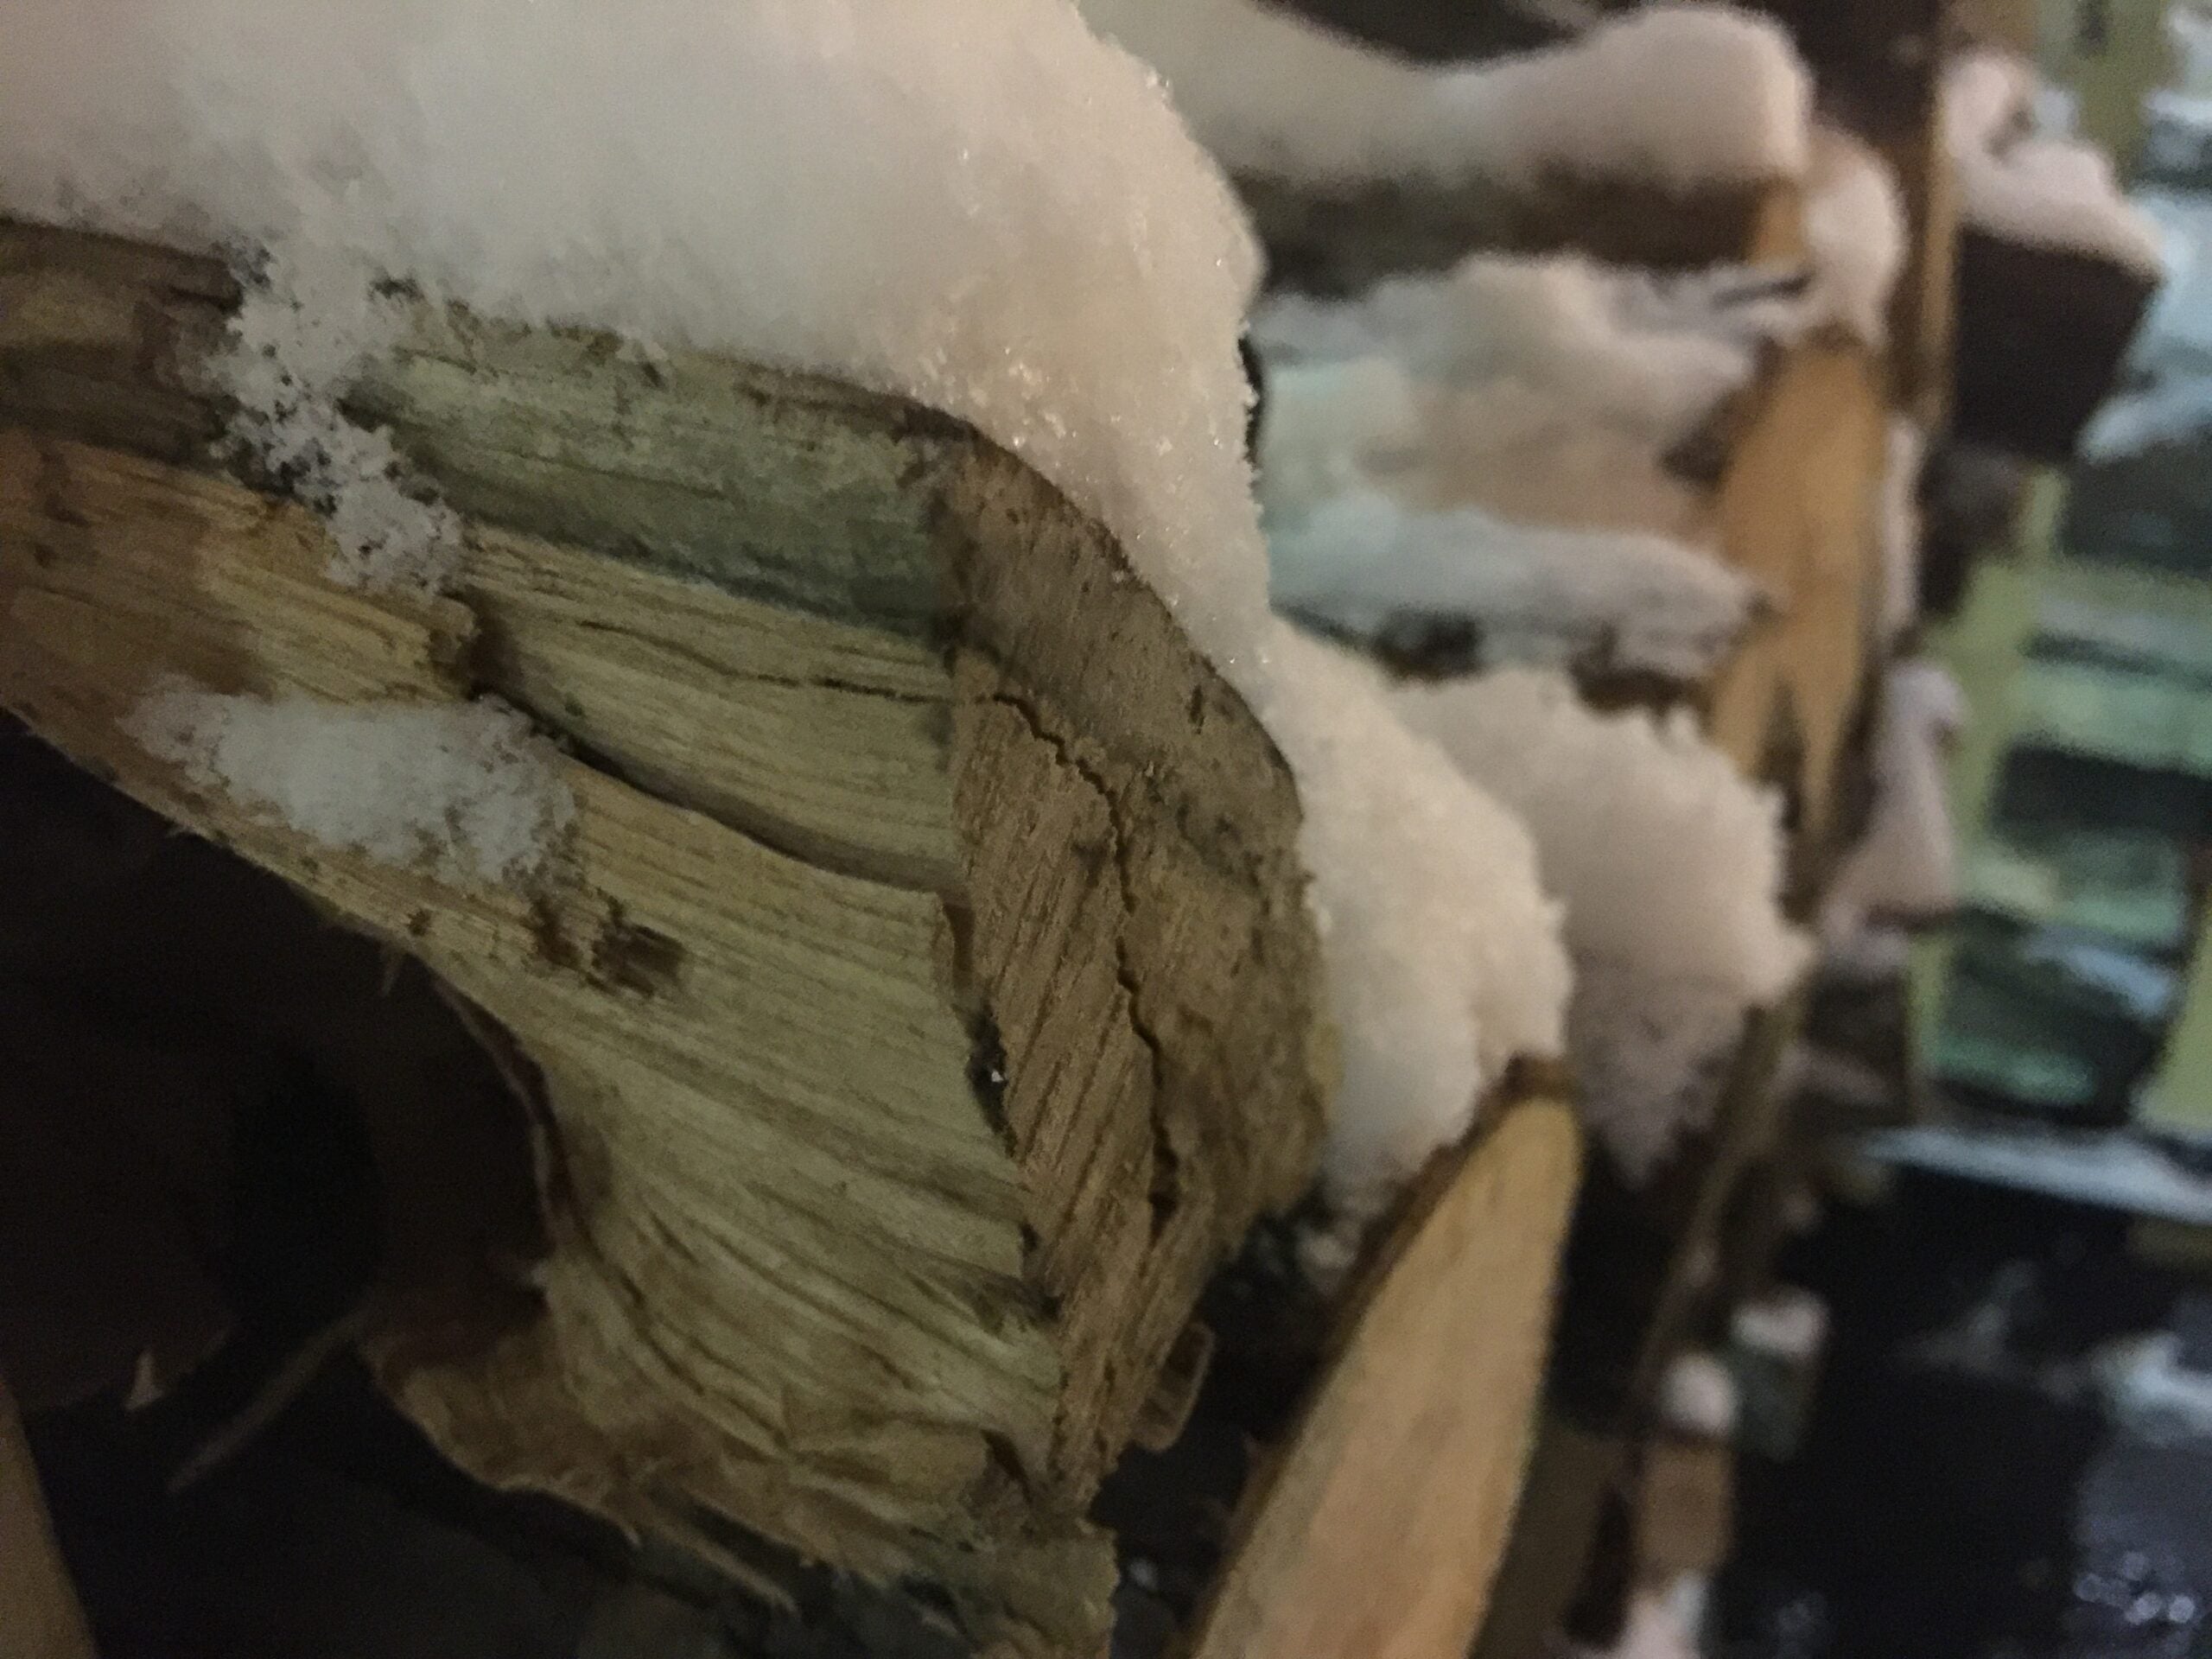
What is seasoned wood for BBQ?
Since we are using wood as our heat source and for flavor, we prefer seasoned wood. Wood that has been dead for a period of 6 months or longer depending on the species. It is difficult for us to find the good seasoned wood we are looking for because almost all of the other BBQ joints in this great state use green wood in their smokers. Which means that the wood supply doesn’t have long enough to dry out and be seasoned like we prefer.Why do these smokers use green wood? As we discussed above, they don’t need to burn wood for heat, most of these smokers use either gas or electricity for heat, and because of this they need lots of smoke to flavor their food. Green wood contains a lot of moisture which makes it burn inefficiently. This produces a lot of white smoke and burns longer to give them the flavor they need. But since we here at Saddleback are using the wood for both heat and flavor, we prefer seasoned wood that has been dead for a while. The important part here is to know your smoker and that will help you pick the right wood.
What type of wood do we use and why?
First things first, Uncle Remus: No, you can’t use lumber scraps in your smoker. That crap is treated with chemicals.In general you want to find a good hardwood without a lot of sap. Nut and fruit woods are great. Since we are in Lansing Michigan, in our perfect world we would use all cherry wood. It produces a light, sweet smoke that we love. The challenge is, it can be hard to find in large quantities seasoned for 6 months or more. Typically, we use a blend of cherry and either hickory or white oak. Hickory and white oak burn clean and produce a nice even heat because they are very dense. They have a little more powerful taste, but they are offset in our other choice of cherry. Basically, in the BBQ world, you use whatever is readily available in your area. In Texas they use a lot of post oak, in Georgia they use a lot of peach, in Michigan we tend to use a lot of cherry and apple. #PureMichigan!
Sure we spend a lot of time talking about spice rubs and their importance, but the importance of good smoke vs. bad smoke will have a bigger impact on your food. The type of wood that you burn, how much moisture it has, and how much oxygen reach your fire will make all of the difference in the world in creating good BBQ. Craft BBQ
~Matt Gillett of Saddleback BBQ. #RespectThePig
-
Saddleback BBQ Ribs
Ribs are something we take very seriously at Saddleback and they are one of our most popular items. That last statement makes us very happy because they are kind of polarizing. Which cut to use? How tender should they be? Dry rubbed and or sauced? These are questions everyone asks and almost everyone has an opinion on.
At Saddleback, we have quite a bit of experience cooking ribs (one of our pitmasters, Brad, has been cooking ribs for over 20 years, old fart) and early on fall-off-the-bone tender was how you judged how well they were cooked. At Saddleback, we cook our ribs till they are tender and still have a little texture. Since Ribs are in the smoker for so long and since it’s such a dry environment for the ribs, if we cooked them till they fell off the bone they would be dry and tasteless – unservable ribs. Instead, we cook them till they are tender, have a little chew to them, and in our humble opinion, the juiciest ribs around.
We use baby back ribs for our ribs, not the more traditional spare rib. Let’s go into a little more detail on each one and further explain our choice of baby backs. Baby back ribs are ribs cut from the back of the hog and baby refers to the ones that are smaller closer to the back of the hog. Hence the name ‘baby back ribs’. These ribs are more tender, have less fat and are generally meatier ribs. Spare ribs are from the bottom of the hog, are a little tougher, have more fat and are generally not as meaty as the baby backs. Spare ribs have great flavor and are the more traditional cut for bbq since they react better to the low and slow mantra. The fat helps protect the ribs from the long cook time, have a great flavor because of that fat and are very good ribs overall. Why would we pick baby backs over spare ribs? Well baby backs are more popular in the Midwest, but more importantly we believe that we have the skill set to best take advantage with our knowledge of our smoker and experience in cooking them. Also, our pork rub really helps us to achieve the results that have people coming back day after day.
Rubs are important for ribs because, for one, they really need that spice rub to bring out that great pork flavor. More importantly we need to create that great bark to help seal in all of those juices in the baby backs. Like I talked about in our Pork Shoulder blog, our pork rub has a sugar component that melts over the long cook and creates a good stickiness that helps attract that blue smoke, creates that crispy coating that seals in all of that flavor and juiciness. We serve our ribs dry, with no sauce, so you can get that great pork flavor we all love so much. Our Red Sauce is a great compliment to our ribs with its sweet, savory taste profile that accentuates the rib without overpowering the natural taste of the rib.
-
How to Smoke Thanksgiving Turkey
The Holidays are right around the corner. Nothing gets us more excited than to smoke 30+ turkeys for Thanksgiving. So let’s get started explaining how we go about smoking Thanksgiving turkeys.
First, you want to start out with a quality bird. We get our birds from Otto’s Turkey Farm in Middleville, MI. These are fresh, antibiotic free, free range turkeys who eat a diverse diet. The best turkeys around, in our humble opinion. Sure, we could get frozen birds and save ourselves a one hour road trip, but nothing but the best for our customers.
Second, we are big believers in either injecting or brining poultry, but since we are short on space we are going to be injecting our birds. What do we mean about brining/injecting and what are the differences? Brining means pulling in moisture into something via osmosis. Since a piece of meat is like a classic membrane the presence of salt acts to pull water (moisture) inside the membrane. This is a good option, but you need a lot of space and you also run the risk of cross contaminating anything else that you might be serving. If you would like a ratio to create your own brine recipe a simple ratio to get started would be 4 tablespoons per 1 quart of water. The process of osmosis will also take any other flavorings through to your protein and we would recommend making a kind of chicken soup with carrots, celery, onions and garlic in your brine. Thyme always works with poultry as would tarragon, rosemary, marjoram and feel free to experiment, poultry is a blank slate that works well with lots of different seasonings.
Since we are not able to brine our birds due to space limitations, we will be injecting them using a Chopps Injection system. This bad boy has 4 needles that pump injections into anything in seconds and since we are going to be doing 30+ turkeys we are going to need that extra power. Since injections don’t take salt to help moisture through a membrane you can really use anything you want to inject. Lots of times we will use our rub in our injection to get that flavor all the way down to the bone. This leads me our next point, we are able to control exactly where we are putting our flavor into our protein. Sure you have to be careful about how you go about this, but we definitely see the benefit of doing it this way. If you are going to be injecting your protein, make sure that you start by going into the protein as far as you would like and then slowly push the injection in as you slowly pull out your injection needle out. Spread your injections about a ¼ in. apart and if you are doing tougher cuts like brisket make sure that you are injecting with the grain so that the injection works its way through your meat.
Third, what kind of rub should you use? Well, since your protein won’t be in the smoker long enough to develop that awesome bark we all love, you don’t have to use as much sugar in your rub if you don’t want too. We use a complex blend of different spices that I can’t share here, but a good place to start would be brown sugar, kosher salt, black pepper and chili powder and any other spices that you think that would work. Poultry skin can be a tricky thing in a smoker and you have to be careful that you don’t come out with rubbery skin. One simple solution is to finish off your bird in an oven at 400 degrees long enough to crisp up that skin. If you do try this be careful if you have a lot of sugar in your rub, it will burn if you are not careful.
Lastly, Thanksgiving is about bringing people together to remember what we are thankful for, each other. Sure the Lions are in first place this Thanksgiving, reason enough to celebrate, but nothing brings people together like good food. Nothing is as good as injected, rubbed and smoked turkey fresh from the farm. If you didn’t get the chance to check out one of our smoked birds, make sure that you make plans for next year. You will not be disappointed.
Happy Thanksgiving everyone. Go Lions.
-
Saddleback BBQ Pork Shoulder
Pork Shoulders are great cuts of meat for smoking. They have lots of intramuscular fat and respond very well to low and slow cooking methods like you would have in a smoker. We will go into more detail about what exactly is a pork shoulder (Boston Butt) and how we go about smoking them.
Where did the term Boston Butt come from?
In pre-revolutionary New England and into the American Revolutionary War, New England butchers would take cuts of pork like hams and shoulders and pack them into barrels for storage and transport, known as a butt. This particular shoulder cut became known around the country as a Boston specialty, and hence it became the “Boston butt.”<2> In the UK it is known as “pork hand and spring”, or simply “pork hand”. Source: Wikipedia
Why do people call ‘pork shoulders’ ‘pork butts’?
Spoiler alert, No, it’s not because it is the butt of the pig. The top of the pork shoulder that includes the shoulder blade is called a Boston Butt. As we mentioned above, this was because of how they were packed in the American Revolutionary War period. Hence the nickname emerged – ‘pork butt’. The lower portion that includes the bottom part of the shoulder and the upper arm of the hog, is called a picnic shoulder or picnic ham. Typically, most people use the Boston Butt – and that’s what we use at the restaurant. The Boston Butt’s have a consistent size and shape that we prefer and it’s what you see most frequently at the grocery store.
For the spice rub, we use a little different blend than we use on the brisket. For pork we use a sweeter rub that works well with pork. Pork is a blank slate, so to speak, and reacts well with a variety of spices. Since we do use more sugar in this rub it is important that you smoke at a lower temp, our temperature is usually around 225 degrees, so the rub doesn’t burn. Also, with the extra sugar we do get that nice bark that we have been talking about.
The shoulder is made up of quite a few muscles and has the shoulder blade right in the middle of it. Because of this, the shoulder does take quite a while to smoke. It takes up to 10 hours or more to be done and we shoot for 195 degrees to be pull-apart-tender. When we temp out our shoulders, we usually insert the thermometer right under the blade bone since the area around the bone takes longer to cook. We suggest you have a meat thermometer, but if you don’t, the shoulder blade coming out of the meat smoothly is usually a pretty good indicator that your meat is done.
For the sauce we like to have a vinegar component since it pairs so well with pork. Our Vinegar with Sriracha pairs very well and adds a heat element that we really enjoy. Also, our red sauce has vinegar in it and with its sweet, savory taste profile, it works very well. The good news is that most sauces will work well, so don’t be afraid to be adventurous.
-
What does Saddleback BBQ use for Spice Rubs?
Since we started our blog we have been talking about quality blue smoke and how that’s the best seasoning that you can use on BBQ. In addition to that we need to also talk about rubs and their role in BBQ. What constitutes a rub and why is it so important?
First, rubs include, but are not limited to sugar, salt, black pepper and other assorted ingredients. A good general start to a good BBQ rub would be 2 parts brown sugar, 2 parts kosher salt, 1 part black pepper, 1 part chili powder and then you would round it out with a few of the following: garlic powder, cumin, thyme oregano, etc. Typically people make different rubs for beef, pork and poultry to better suit the different taste profiles. We have a different spice rub for all of our meats at Saddleback. We have a more savory rub for our brisket. A more sweet and spicy rub for pork. We have an all around rub for our chicken. We know there are lots of good commercial rubs out there, but in order to get the results in flavor and to create a great bark – we need to create our own.
Second, why are rubs so important to everything we do in BBQ? Well rubs have a direct effect on the creation of bark, the dark crispy outer coating on our briskets and pork shoulders. Think of toasting bread and its effect on not only the taste of the bread, but also the texture. Some see the dark, crispy outer coating and think it must be burnt. Oh no, that’s where the rub comes into creating that magical sensation of sweet, salty, crispy goodness. It makes any pitmaster die a little inside when someone cuts off what they think must only be burnt. With a good rub you also help attract good smoke onto your BBQ. The coarseness of our salt, sugar and black pepper help to “catch” the very fine particles in blue smoke. That’s why our BBQ will have that dark brown (almost black) color and you know that we have done our job right.
We will go into more depth on our rubs when we break down our meats and how we smoke each of them. Each one needs its own rub to not only help season the meat, but to also help create that great bark that we all love.
-
What type of Smoker does Saddleback BBQ use?
At Saddleback, Craft BBQ all starts with the type of smoker that we use. We use a completely wood fired reverse flow smoker to get the best results. In order to get the best smoke possible to give you the best tasting food we have to burn all wood (no gas fired smokers here). Sure, it would be easier and we would sleep more if we used a gas fired smoker, but we think an all wood smoker offers our customers the best possible BBQ flavor.
What is a Reverse Flow Smoker?
Smokers are pretty primitive designs. You have a fire box to provide heat to cook your food and the smoke stack helps by pulling the heat and smoke across your food to flavor it. Where the fire box and smoke stack are located in relation to each other defines what type of smoker it is. With an offset smoker the stack is on the opposite side of the fire box and is offset to the fire box. On a reverse flow the fire box and stack are on the same side. The smoke travels down the length of the cooking chamber and then reverses and leaves the stack on the same side as the fire box. Why do we like the reverse flow? Well since the air is going down and then back it makes the temp in the cooking chamber more even. Also, we are able to add on another cooking chamber to the back of the main chamber directly above the fire box to cook on. Since we are limited by space to cook all of our proteins the extra space is very important.
What is the importance of all wood fired smokers in providing the best BBQ?
Great question. The best, most powerful seasoning for BBQ is smoke. Rubs are important and we will explain those in another blog, but they pale in comparison to good quality smoke. Smoke is made up of quite a few different chemicals, but what mostly flavors your food are the kinds that you can’t see with the naked eye. So the smoke that you can barely see, with just a slight blue tint, is what we are after. In order to get that type of smoke you need to have fires that have enough oxygen and are burning pretty efficiently. Air flow for us is of the most importance. We have actually lengthened our smoke stacks on our smokers so that they pull more air. We never, ever, use dampers to limit the flow of oxygen to our fires. Since our fires burn efficiently, with enough oxygen, we get that blue smoke we are after. Blue smoke has all the complexity that we know and love without the acrid, bitter after taste that you get with fires that burn inefficiently and have a distinctive white look to them.
If this was easy everyone would do it. We spend lots of time staring at fires and trying to predict what fires are going to do. We have to be able to keep our temps extremely consistent (225°f) for hours and hours. It takes dedication and patience to pull this off, but we believe (very strongly) that this is the only way to get you the best BBQ available. Craft BBQ.


- Previous page
- Page 7 of 8
- Next page